
How to Transfer Data from Broken ZTE Phone to New Phone: Complete Guide
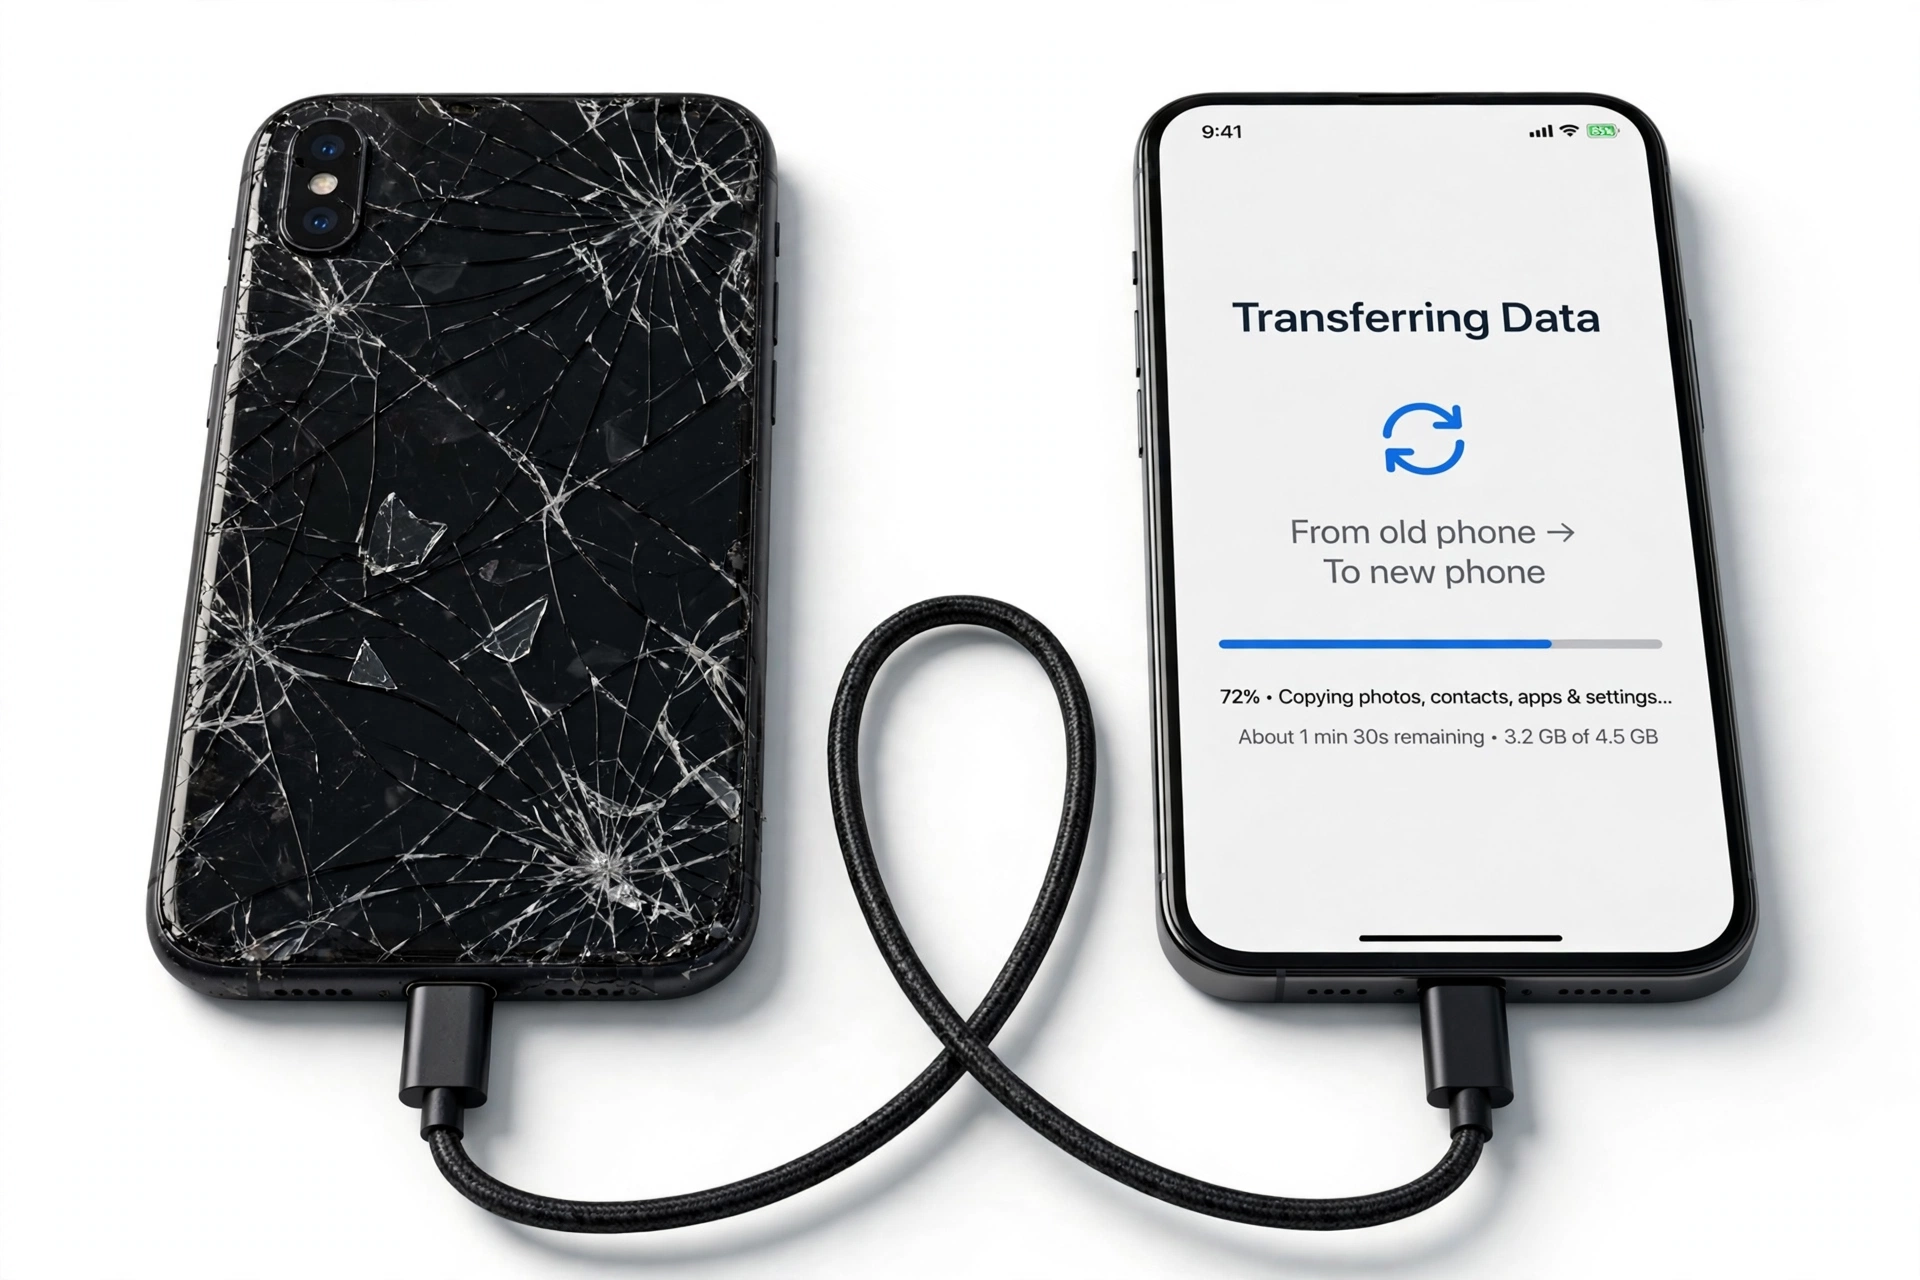
If your ZTE phone still has its Google backup turned on, you can restore contacts, apps, settings, and more to a new phone even if the old one never turns on again. Google’s backup runs automatically on ZTE’s Android phones, so the fastest path is signing into the same Google account during the new phone’s setup and choosing the ZTE backup — no need to touch the broken device at all.
On this page
If your ZTE phone still has its Google backup turned on, you can restore contacts, apps, settings, and more to a new phone even if the old one never turns on again.
1. Who this guide helps
This guide is for anyone whose ZTE phone — an Axon, Blade, Nubia, RedMagic, or older carrier model — is cracked, dead, stuck in a boot loop, or otherwise unusable, and who needs their data on a replacement phone. It covers every realistic path, from the fully automatic (Google backup restore) to the hands-on (USB cable and OTG adapters), and it is honest about which paths work when the phone is truly dead versus merely screen-damaged. (Source: mobikin.com)
You do not need to be technical. Each method below lists exactly what it requires from the broken phone, so you can skip straight to the ones your situation allows.
If your ZTE phone still works fine and you simply want to move to a new device, the same methods apply — but you will have more options, including the on-screen “Copy apps & data” flow that Android offers during first-time setup.
2. First: figure out what “broken” actually means for your data
Not all broken phones are equally broken, and the distinction decides everything about which transfer methods can work. Before you try anything, place your ZTE into one of these categories:
| Condition | What still works | Transfer methods available |
|---|---|---|
| Cracked screen, touch works | Display partially readable, touch input works | All methods, including cable copy and on-device backup |
| Cracked screen, touch dead | Phone powers on, but you cannot tap anything | OTG mouse, USB cable to computer, Google backup restore |
| Black screen, phone vibrates or rings | Phone is on but display shows nothing | OTG mouse (if you can guess taps), USB cable, Google backup restore |
| Won’t power on at all | Nothing — no lights, no vibration, no sound | Google backup restore only (if backup existed); professional data recovery |
| Boot loop (restarts endlessly) | Phone starts but never reaches the home screen | Google backup restore; USB cable may work briefly between restarts |
| Water-damaged | Unpredictable — may work briefly or not at all | Google backup restore; do not charge or power on repeatedly (see safety section) |
Quick fact: ZTE phones run standard Android with Google services (on models sold with Google Mobile Services). That means Google’s own backup and transfer tools — not a ZTE-branded app — are the official, supported path for moving data. There is no ZTE “Smart Switch” equivalent you need to hunt down.
The single most important question is: was Google backup turned on before the phone broke? On ZTE phones the path is Settings > System > Backup, where “Backup by Google One” (or “Back up to Google Drive” on older models) does the work. If it was on, your contacts, app list, settings, call history, and SMS are already sitting safely in your Google account, and the broken phone’s condition barely matters. If it was off, you will need one of the hands-on methods below — which require the phone to at least power on and be recognized.
3. Method 1: Restore a Google backup during new-phone setup (works even with a dead ZTE)
This is the method to try first, because it requires nothing from the broken phone — not even that it powers on. It works as long as a backup exists in your Google account.
3a. How it works
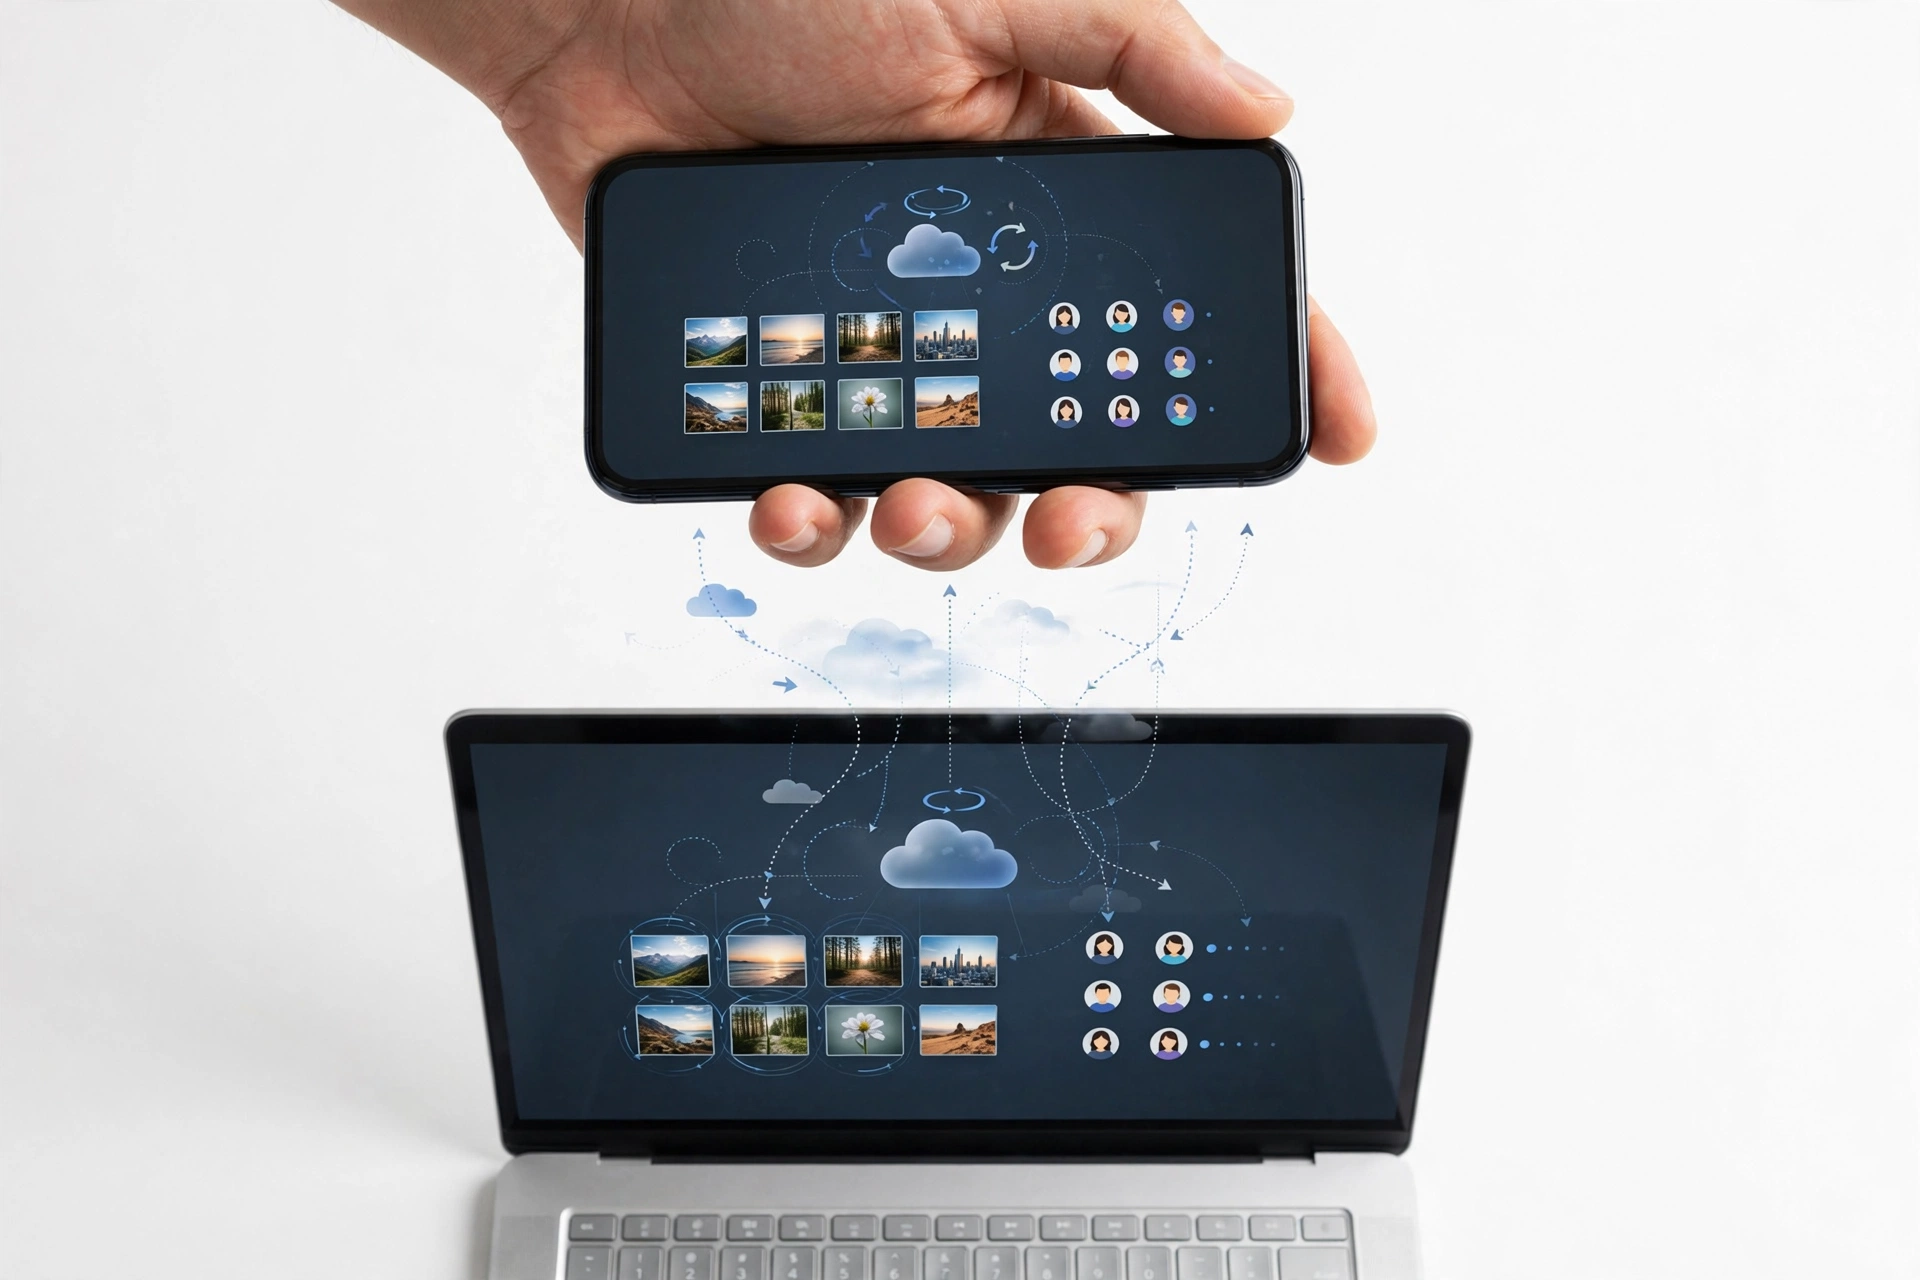
When Google backup is enabled on a ZTE phone, the phone periodically uploads a snapshot to your Google account: contacts, the list of installed apps, app data (for apps that support it), call history, device settings, and SMS messages. When you sign into that same Google account on a new phone, Android offers to restore from that snapshot.
3b. Step-by-step
- Power on your new phone and begin the first-time setup. Connect to Wi-Fi when prompted.
- When the setup asks whether to copy apps and data, choose “Copy apps & data” (wording varies slightly by manufacturer).
- Sign in with the same Google account you used on the ZTE.
- Choose “A backup from the cloud” (rather than a cable copy from the old device).
- You will see a list of available backups — pick the one from your ZTE phone and confirm the date looks right.
- Select what to restore (apps, contacts, settings) and wait. Apps download from the Play Store after the home screen appears, so allow 10–15 minutes on Wi-Fi.
Tip: If you already finished setting up the new phone without restoring, you can factory-reset the new phone and go through setup again to get the restore prompt — but only do this before you have added anything important to the new phone, since a reset erases it.
3c. What Google backup does and does not include
| Data type | Backed up? | Notes |
|---|---|---|
| Contacts | Yes | Synced to Google Contacts; also restorable independently |
| Installed apps and app data | Mostly | App list restores; individual app data depends on whether each app supports backup |
| Call history | Yes | Included in the device backup snapshot |
| SMS text messages | Yes | Included; MMS (picture messages) may be partial |
| Device settings (Wi-Fi, wallpaper, etc.) | Yes | Restored automatically |
| Photos and videos | Only if Google Photos backup was on | Separate toggle in the Google Photos app — check photos.google.com |
| Files in Downloads / internal storage | No | Manual copy via USB cable required |
| WhatsApp chats | Only if WhatsApp’s own Google Drive backup was on | Controlled inside WhatsApp: Settings > Chats > Chat backup |
| Authenticator / 2FA codes | Usually no | Most authenticator apps deliberately exclude cloud backup; check yours specifically |
Stop for safety: Google backups expire. If a device is inactive for 57 days, Google may delete its backup. If your ZTE has been dead for months, check whether the backup still exists before relying on this method — sign into Google Drive on a computer, open Backups, and look for your ZTE’s entry.
4. Method 2: Check your synced Google data right now (no new phone needed yet)
Even before you buy a replacement, you can verify what survived by checking Google’s web interfaces from any computer or working phone:
- Contacts: contacts.google.com — every contact synced from the ZTE appears here.
- Photos and videos: photos.google.com — only if Google Photos backup was enabled on the ZTE.
- Backup snapshot: drive.google.com, then Backups in the left menu — shows the device backup and its date.
- Calendar and Gmail: calendar.google.com and gmail.com — these sync continuously and are unaffected by the phone breaking.
If your contacts and photos are all present in these web views, the heavy lifting is already done — restoring them to a new phone is just a matter of signing in. For a deeper walkthrough of brand-agnostic broken-phone recovery, see our guide to transferring data from a broken phone.
5. Method 3: USB cable copy to a computer (phone must power on and be recognized)
If the ZTE powers on — even with a dead screen — and your computer recognizes it over USB, you can copy files directly. This is the best method for photos, videos, downloads, and documents that Google backup does not cover.
5a. What you need
- A USB cable that supports data (not a charge-only cable).
- A Windows PC or Mac.
- The ZTE must power on far enough for the computer to detect it as a storage device.
5b. Steps
- Connect the ZTE to the computer with the USB cable.
- On Windows, open File Explorer and look for the phone under “This PC.” On a Mac, use Android File Transfer (free from Google) or the phone’s web interface.
- If the phone appears, open it and copy the DCIM folder (photos and videos), Downloads, Documents, and any other folders you recognize.
- Paste them into a folder on the computer, then copy that folder to the new phone later.
Quick fact: If the ZTE is locked with a PIN or pattern and the screen is dead, the computer may not be able to access storage — Android requires the phone to be unlocked before it exposes files over USB. In that case, try the OTG mouse method below to unlock the screen first.
6. Method 4: OTG adapter + USB mouse (for a ZTE with a dead touch screen)
If the display works but touch does not — or the screen is black but the phone is on — a cheap USB OTG (On-The-Go) adapter lets you plug a regular USB mouse into the phone’s charging port and control it with a cursor. This can be enough to unlock the phone, enable a backup, or start a transfer.
- Buy a USB OTG adapter matching the ZTE’s port (USB-C on recent models, micro-USB on older ones).
- Plug the adapter into the phone, then plug a USB mouse into the adapter.
- A cursor appears on the screen. Use it to enter your PIN, open Settings, and turn on Google backup (Settings > System > Backup > Back up now).
- Once the backup completes, restore it on the new phone using Method 1.
This trick also lets you authorize the USB file-transfer mode needed for Method 3, or read two-factor codes arriving by SMS. It is one of the highest-value low-cost tools for any broken-screen situation.
7. Method 5: SD card (if your ZTE used one)
Many ZTE Blade and older Axon models have a microSD slot. If you stored photos, videos, or app data on the card:
- Power the ZTE off completely and remove the microSD card (use the SIM tool or a paperclip in the tray hole).
- Insert the card into the new phone’s SD slot, or into a card reader attached to a computer.
- Copy everything off the card before doing anything else.
Stop for safety: If the card was formatted as adopted (internal) storage, it is encrypted to the dead ZTE and cannot be read in any other device — this is by Android’s design, not a malfunction. Only cards formatted as portable storage can be moved freely. There is no legitimate way to decrypt an adopted-storage card without the original phone working.
8. Method 6: Moving from a ZTE to an iPhone
If your replacement is an iPhone rather than another Android, Google’s cloud restore does not apply — but Apple provides its own path:
- On the iPhone, during setup, choose “Move Data from Android.”
- Apple will prompt you to install Move to iOS on the Android phone — this requires the ZTE to be working enough to install and run an app, so it only helps for cracked-but-usable screens.
- For a dead ZTE, fall back to the Google account route: contacts, calendar, and photos synced to Google can be added to the iPhone by signing into the same Google account in the iPhone’s Settings (Mail > Accounts > Add Account > Google).
- Files copied to a computer via Method 3 can be synced to the iPhone through iCloud Drive, Google Drive, or a direct cable copy.
WhatsApp chats moving from ZTE to iPhone need WhatsApp’s own transfer flow — check WhatsApp’s current documented steps, since the exact path changes with app versions.
9. What about ZTE’s own transfer tools?
Older ZTE phones shipped with the MiFavor skin, and some carrier models included basic backup utilities — but ZTE never published a flagship cross-device transfer app comparable to Samsung Smart Switch or Huawei Phone Clone. On modern ZTE, Nubia, and RedMagic devices, the supported transfer path is Google’s: the “Copy apps & data” setup flow and Google One backup described above.
Be cautious of third-party apps on the Play Store with names like “Phone Clone” or “ZTE Transfer” from unknown publishers. These are not ZTE software, their privacy practices vary, and granting them full access to your contacts, messages, and files is a meaningful risk. Prefer Google’s built-in tools or a direct cable copy, which never hand your data to a third party.
Tip: If you are moving between two working ZTE phones, the fastest option is the cable-based “Copy apps & data” flow during the new phone’s first setup — connect the phones with a USB cable (plus an OTG adapter if needed) and Android copies apps, accounts, and data directly, without cloud upload delays.
10. Comparison: which method should you use first?
| Method | Broken phone must… | Speed | Best for |
|---|---|---|---|
| 1. Google backup restore | Nothing — can be fully dead | 10–15 min on Wi-Fi | Contacts, apps, settings, SMS — the default first try |
| 2. Check synced data on the web | Nothing | Immediate | Verifying what survived before buying a new phone |
| 3. USB cable to computer | Power on and be recognized | Depends on file size | Photos, videos, downloads Google backup missed |
| 4. OTG adapter + mouse | Power on | 15–30 min of hands-on work | Unlocking a touch-dead phone to enable backup or cable mode |
| 5. SD card removal | Be powered off (card removed physically) | Minutes | Photos/files stored on a portable SD card |
| 6. Move to iOS / Google account on iPhone | Varies (see section 8) | 15–30 min | ZTE → iPhone moves |
Work down this table in order. Most people succeed at Method 1 or 2 and never need the rest.
11. Two hypothetical examples
(The following are hypothetical illustrations, not customer stories.)
Amara’s cracked Blade. Amara dropped her ZTE Blade A-series and the touch screen stopped responding, though the display still lit up. She bought a $8 USB-C OTG adapter, plugged in a mouse, unlocked the phone, and went to Settings > System > Backup to run “Back up now.” Twenty minutes later she signed into her Google account on a new phone and chose the Blade’s cloud backup during setup. Her contacts, apps, and messages came back; the photos she thought were lost were already in Google Photos.
Devon’s dead Axon. Devon’s ZTE Axon 11 would not power on at all after a swim — no lights, no vibration. With no way to extract anything directly, he signed into drive.google.com on his laptop, opened Backups, and found a month-old backup from the Axon. During his new phone’s setup he chose “A backup from the cloud” and restored it. He lost a few weeks of photos that were never backed up to Google Photos — a gap he closed by turning on Photos backup on the new phone immediately.
12. Safety: what not to do with a broken ZTE
Stop for safety: Do not factory-reset the broken ZTE before you have copied everything off it. A reset erases the phone’s storage and does nothing to help a transfer — it only destroys the data you are trying to save. Reset only after you have confirmed the data lives somewhere else.
- Water damage: do not charge the phone, do not try to power it on repeatedly, and do not put it in rice (rice does not dry internal components and can introduce dust). Power it off and leave it alone; attempt Method 1 from your Google account instead.
- Swollen battery: if the back cover is bulging or the screen is lifting, stop handling the phone beyond what is necessary, do not charge it, and do not puncture or press on the swollen area. A swollen lithium battery is a fire risk.
- Dangerous heat: if the phone becomes too hot to hold comfortably during any transfer attempt, unplug it and stop. Heat plus a damaged battery is a bad combination.
- Do not open the phone yourself to “get the memory chip out.” Phone storage is soldered to the main board; there is no removable data module to extract, and opening the phone risks battery puncture.
13. When to stop and get professional help
Stop DIY attempts and seek a reputable repair or data-recovery assessment when:
- The phone is completely dead and no Google backup exists — a lab may be able to read the storage chip directly, but this is specialized work with no guaranteed outcome.
- You have tried the OTG and cable methods and the computer does not recognize the phone at all.
- The phone shows signs of battery swelling, leaking, or extreme heat.
- The data is irreplaceable (legal documents, one-of-a-kind photos) and you are unsure about any step — a wrong step like a factory reset can make professional recovery harder or impossible.
If you are in the Las Vegas area and want an in-person assessment of a broken ZTE, Las Vegas Phone Repair & Accessories (7400 Las Vegas Blvd S, Unit TT42, Las Vegas, NV 89123; (424) 406-6202 — call ahead to confirm today’s hours) can evaluate what recovery paths your specific device allows. Be aware that no shop can guarantee data recovery from a dead phone, and anyone who promises it unconditionally should not be trusted.
14. Frequently asked questions
Can I transfer data from a ZTE that won’t turn on at all?
Only through a Google backup that was made before the phone died. Sign into the same Google account on the new phone during setup and choose the cloud backup. If no backup exists and the phone truly will not power on, professional chip-level data recovery is the only remaining option, with no guaranteed result.
Does ZTE have its own transfer app like Samsung Smart Switch?
No. ZTE never released a flagship transfer app. The official path on ZTE’s Android phones is Google’s built-in backup and the “Copy apps & data” setup flow. Third-party apps calling themselves transfer tools are not ZTE software.
Will my photos transfer with Google backup?
Only if Google Photos backup was enabled on the ZTE. The device backup itself does not include the photo library. Check photos.google.com from any browser to see what was saved.
How do I know if my ZTE had backup turned on?
From any computer, go to drive.google.com, sign into your Google account, and open “Backups” in the left sidebar. If your ZTE appears with a recent date, backup was on.
Can I move WhatsApp chats from the broken ZTE?
Only if WhatsApp’s own chat backup to Google Drive was enabled (WhatsApp > Settings > Chats > Chat backup on the old phone). The general Google device backup does not include WhatsApp message history. If the backup exists, install WhatsApp on the new phone, verify the same number, and it will offer to restore.
My computer doesn’t recognize the ZTE over USB. What now?
Try a different cable (many cables are charge-only), a different USB port, and confirm the phone is unlocked — Android hides storage from computers until the lock screen is passed. If the screen is dead, try the OTG mouse method to unlock it first. If nothing works, fall back to the Google backup route.
Will my apps and their logins transfer?
The app list restores from Google backup, and many apps restore their data — but logins vary. Banking apps, authenticators, and some messaging apps deliberately do not back up credentials. Expect to sign into important apps again on the new phone, and make sure you can receive 2FA codes (by SMS or an authenticator you can recover) before wiping anything.
Should I factory-reset the broken ZTE after transferring?
Only after you have verified the data is fully present on the new phone (or in your Google account) and you intend to recycle, sell, or hand the ZTE to a repair shop. Resetting before confirming the transfer is the most common way people lose data permanently in this process.
15. Related guides
If this guide helped, these companions cover adjacent situations:
- How to Transfer Data from a Broken Phone — the brand-agnostic master guide with universal methods.
- How to Transfer Data from a Broken Tecno Phone — Tecno’s HiOS Phone Clone and Carlcare-specific paths.
- How to Transfer Data from a Broken Nokia Phone — Nokia/HMD-specific backup and transfer steps.
Video: How to transfer everything from old to new Android
Sources and editorial notes
- MobiKin: 4 Rapid Solutions to Transfer Data from ZTE to Android — documents the Google Backup path on ZTE (Settings > System > Backup > Back up to Google Drive) and the cloud-restore flow during new-device setup; notes that photos may need Google Photos and app data varies by app.
- Coolmuster: How to Perform ZTE Backup and Restore — details Google One backup (“Backup by Google One” switch, “Back up now”) and both full restore after reset and selective restore from Google Drive’s Backups section.
- MobiKin: How to Back Up and Restore ZTE Phones — covers the Google Account backup-and-restore route (Back up my data, Automatic restore) as the no-desktop-tool option for ZTE Axon/Blade/Nubia devices.
- MobiKin: Transfer Contacts from ZTE to Computer — documents Gmail/Outlook contact sync via Settings > Accounts > Google as the free path for getting ZTE contacts onto a computer.
- MobileSpecs: Backup on ZTE phones — explains Google-account sync (‘Settings’ > ‘Google Account’ > ‘Sync now’) and Google Photos as the recommended photo safeguard on ZTE Android devices.
Last source check: October 14, 2026. AI-assisted editorial guide, checked against the linked manufacturer information and independent reporting summarized above. ZTE’s software lineup and Google’s backup behavior change over time; if a menu path differs on your model, use your phone’s Settings search to find “Backup.” This guide describes consumer data-transfer options and is not a guarantee of data recovery — a phone that will not power on with no prior backup may require professional lab recovery with no assured outcome.
Let’s get you connected again.
Tell us what’s happening with your device and we’ll help you decide the safest next step — no jargon, no pressure.
Las Vegas Phone Repair & Accessories · 7400 Las Vegas Blvd S, Unit TT42, Las Vegas, NV 89123
10:00 AM–8:00 PM — call ahead to confirm today’s hours