
Phone Says No Service: Safe Checks Before Repair
Direct answer: if your phone says “No Service,” work through software and account causes before assuming the hardware is broken — most cases are fixed by a restart, a carrier settings update, reseating the SIM, or a call to your carrier. This guide walks through the safe, manufacturer-documented checks for iPhone and Android phones, explains what each signal message actually means, and shows you how to tell a carrier or account problem apart from a phone hardware problem.
On this page
Direct answer: if your phone says “No Service,” work through software and account causes before assuming the hardware is broken — most cases are fixed by a restart, a carrier settings update, reseating the SIM, or a call to your carrier.
Who this guide helps
This guide is for any phone owner — iPhone, Samsung Galaxy, Google Pixel, Motorola, or OnePlus — who sees “No Service,” “Searching,” “SOS Only,” or a similar message where the carrier name and signal bars should be. It also helps if your phone intermittently loses service, shows full bars but cannot make calls, or stopped connecting after a software update, a trip abroad, or switching carriers. (Source: support.apple.com)
A useful early distinction: “No Service” is a cellular network problem, not a Wi-Fi problem. Your phone can still connect to Wi-Fi, browse the web, and use messaging apps while showing No Service. That fact alone tells you the phone’s radios and antennas may be working fine for Wi-Fi, which narrows the possibilities — but it does not rule out a cellular-specific hardware fault. The checks below are ordered from simplest and safest to more involved, following the sequence published by Apple and Samsung support.
Quick fact: Cellular registration is a three-way handshake between your phone, your SIM (or eSIM profile), and your carrier’s network. A failure at any of the three points produces the same “No Service” message, so diagnosis means eliminating them one at a time rather than guessing.
What the signal messages actually mean
Phones display several different messages in the status bar, and they do not all mean the same thing. Knowing which one you see points you toward the right checks.
“No Service”
The phone cannot register on any cellular network. This can be caused by being out of coverage, a disabled SIM line, an account problem, wrong network selection, or a hardware fault. It is the most general message and the one this guide focuses on.
“Searching…”
The phone is actively scanning for a network but has not found one it can register on yet. Brief “Searching” after a restart, after landing from a flight, or in a rural area is normal. Persistent “Searching” that never resolves usually means the same underlying causes as No Service, plus the possibility that the phone is trying the wrong network mode.
“SOS Only” (iPhone) / “Emergency calls only” (Android)
The phone can reach some network for emergency calls but cannot register on your carrier. On iPhone, “SOS” or “SOS Only” means the device can make emergency calls but has no regular service. This often points to an account, SIM, or carrier-side issue rather than a dead radio — because the radio is clearly able to transmit and receive. Do not ignore this state: it means your regular calls, texts, and mobile data will not work.
“No SIM,” “Invalid SIM,” or “SIM Not Supported”
The phone cannot read the physical SIM card at all. This is a different problem from No Service: it is about the card or the SIM reader, not the network. Apple documents separate steps for SIM alerts, and the SIM-reseat steps below apply directly.
Tip: Take a screenshot or a photo of the exact message and note when it started (after an update? after a trip? after dropping the phone?). That timeline is the single most useful piece of information for anyone helping you later.
Step 0: The two-minute checks (do these first)
Before touching any settings, run through these quick eliminations. They resolve a surprising share of No Service cases and cost nothing.
1. Check that you are actually in coverage
Look at another phone on the same carrier nearby, or check your carrier’s coverage map and outage page. Large-scale outages, tower maintenance, and dead zones (basements, elevators, rural stretches, some concrete buildings) all produce No Service on a perfectly healthy phone. If service returns when you move a few blocks, the phone was never the problem.
2. Toggle Airplane Mode
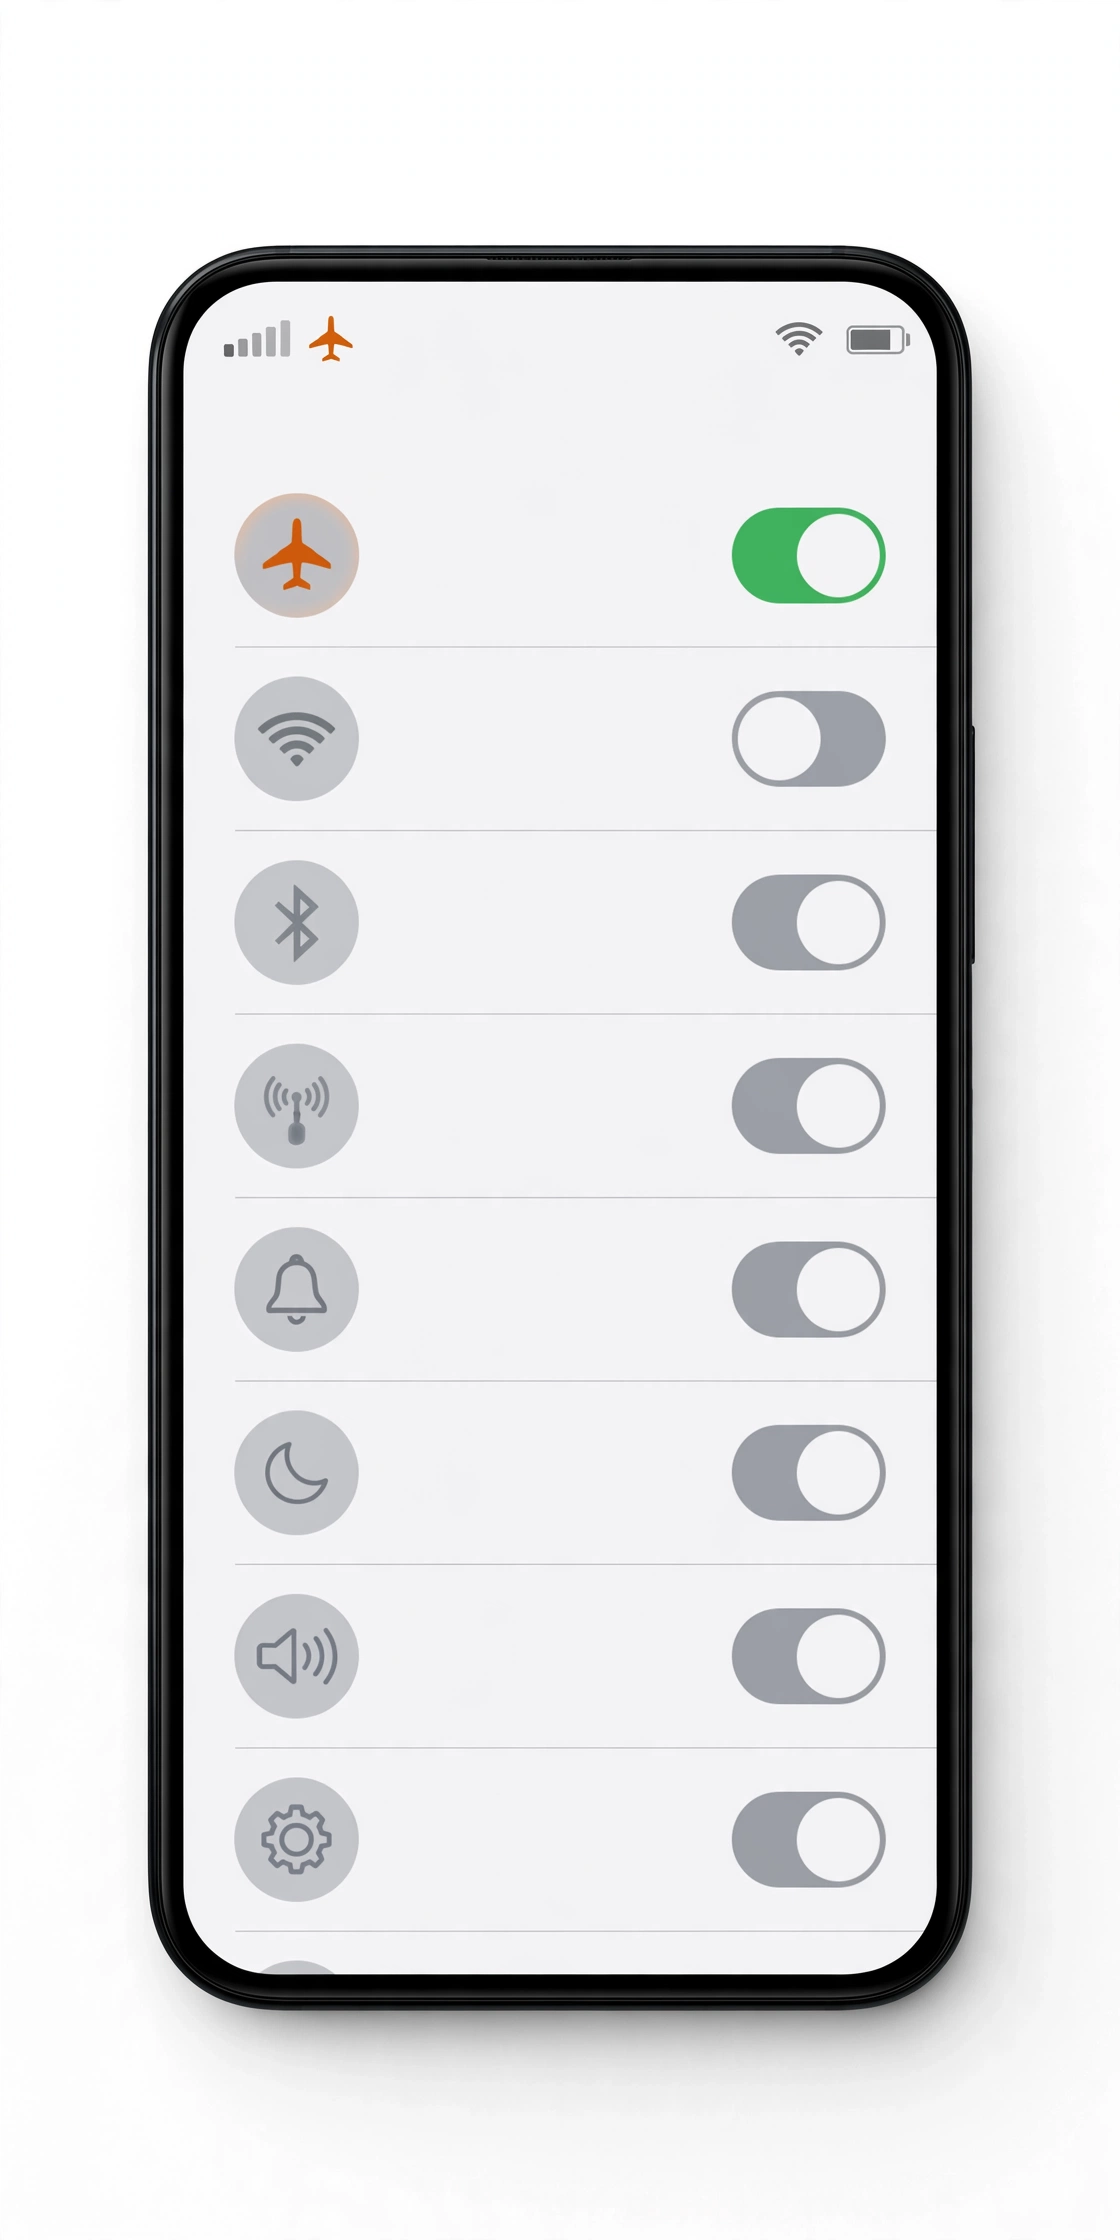
Turn Airplane Mode on, wait about 15 seconds, then turn it off. This forces the phone to drop its current network registration and re-scan from scratch. It is the fastest way to clear a stale registration without restarting.
3. Restart the phone
A full restart clears temporary modem and software glitches. Both Apple and Samsung list this among the first steps for signal problems. If the phone was mid-update or behaving oddly, a restart is especially worthwhile.
4. Check for a carrier outage or account notice
Log in to your carrier’s app or website (over Wi-Fi) and check for outage alerts, unpaid-bill notices, or plan changes. Carriers can suspend a line for a missed payment or a plan change, and the phone will show No Service with no other explanation. This is an account problem, not a phone problem — and it is one of the most common causes people overlook.
Stop and check: If your line was recently suspended, reported lost or stolen, or transferred to a new account, contact your carrier before doing anything else to the phone. No setting on the device can fix a line that the carrier has deactivated.
iPhone: the Apple-documented checks in order
Apple publishes a specific sequence for “No Service” or “Searching” on iPhone and iPad. Follow it in order; each step eliminates one layer of the problem.
1. Check for a carrier settings update
Carriers periodically release small updates that improve how the iPhone connects to their network. Your iPhone normally prompts you when one is available, but you can check manually: connect to Wi-Fi, go to Settings > General > About, and wait about 10–15 seconds. If an update is available, a prompt appears asking whether to install it. This step fixes No Service surprisingly often, especially after switching carriers or traveling internationally.
2. Remove and reseat the SIM card
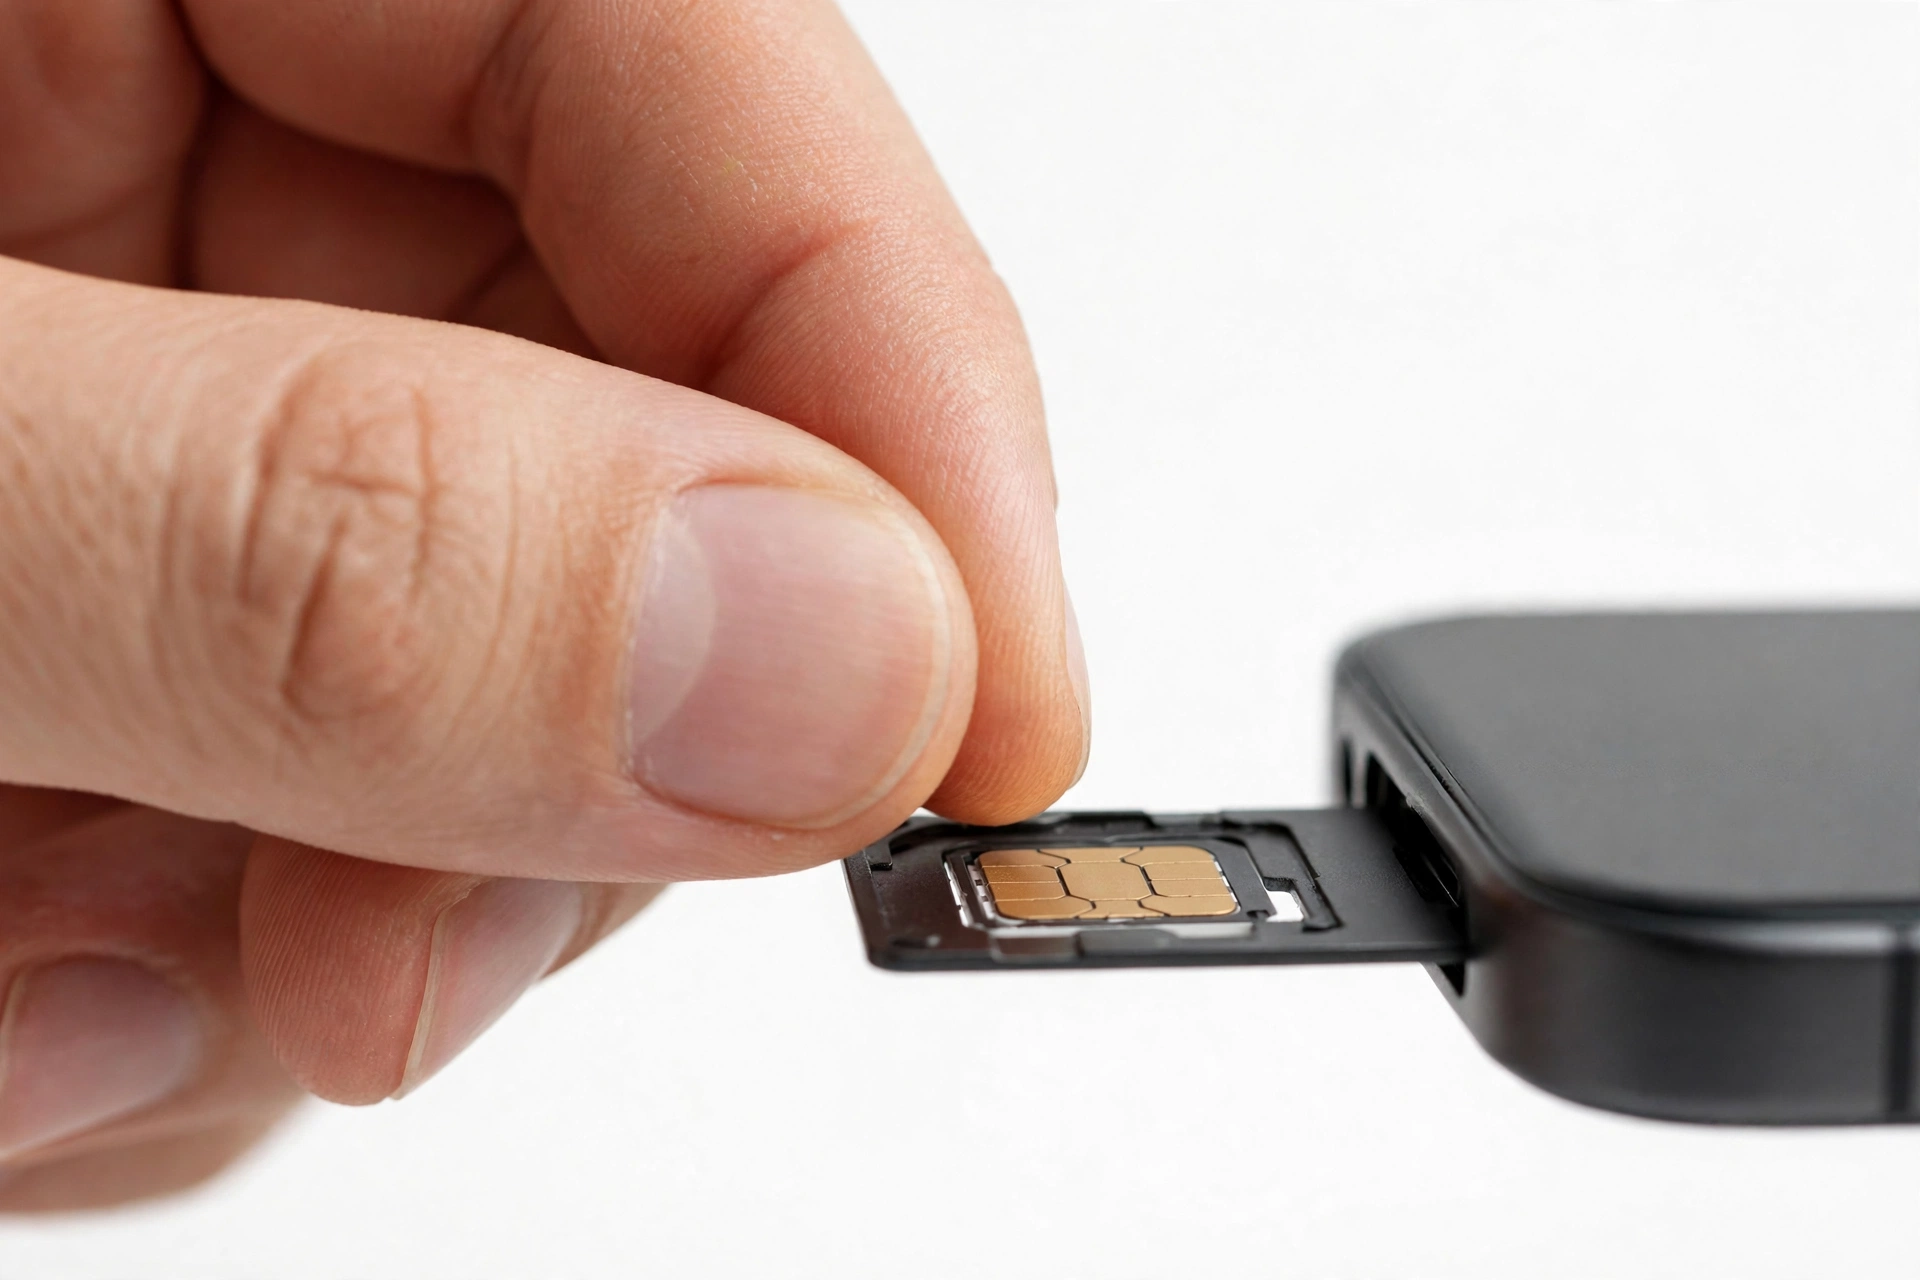
If your iPhone uses a physical SIM: power the phone off, eject the SIM tray with the SIM tool (or a straightened paperclip used gently), remove the card, inspect it, and put it back, making sure the tray closes completely and is not loose. Apple notes that a SIM tray from a different iPhone model — or from another manufacturer’s phone — may not fit properly, so use the tray that came with your phone.
Inspect the SIM for visible damage: deep scratches on the gold contacts, cracks, or warping. A damaged SIM is a carrier-store replacement, not a phone repair.
3. Reset network settings
Go to Settings > General > Transfer or Reset iPhone > Reset > Reset Network Settings. This clears saved Wi-Fi networks and passwords, cellular settings, and VPN configurations, then restores network defaults. Your photos, apps, and personal data are not affected — but you will need to re-enter Wi-Fi passwords afterward. Note that this also clears Bluetooth pairings; if you later have trouble reconnecting accessories, our guide to iPhone Bluetooth troubleshooting covers the re-pairing steps.
4. Check network selection
Go to Settings > Cellular > Network Selection (wording varies slightly by iOS version). If Automatic is off, turn it on so the iPhone picks the strongest available network. If it is already on and you still have no service, try turning it off, manually choosing your carrier from the list, waiting a minute, then switching Automatic back on. A phone stuck trying the wrong network is a classic cause of persistent “Searching.”
5. Check Date & Time
Go to Settings > General > Date & Time and make sure Set Automatically is on. An incorrect clock can break the secure handshake the iPhone uses to register on the network, producing stubborn No Service errors that survive restarts.
6. Update iOS
Go to Settings > General > Software Update and install any available update. Apple has fixed cellular-registration bugs in past iOS updates, and running current software eliminates that variable.
7. eSIM-specific notes (iPhone 14 and newer in the US)
US models from the iPhone 14 onward are eSIM-only with no SIM tray — the “SIM” lives entirely in software. If your eSIM line shows No Service: go to Settings > Cellular, tap the affected line, and confirm it is turned on. Do not erase the eSIM as a troubleshooting step unless your carrier tells you to — once removed, you need the carrier to issue a new profile before you can set it up again. If the carrier confirms the eSIM is active but service still fails, ask them to reissue or resend the eSIM profile; a stale profile is a common blocker.
8. Contact your carrier, then Apple
If every step above fails, Apple directs you to contact your carrier first (to verify the account, the line, and the SIM/eSIM status on their side) and then seek further help. If the carrier confirms everything is correct on their end and a known-good SIM still shows No Service, the fault is likely in the phone’s cellular hardware — SIM reader, antenna connections, or modem — and that is the point where professional assessment makes sense.
Android and Samsung: the documented checks in order
Samsung publishes its own sequence for Galaxy phones showing no network signal or dropping calls. The logic mirrors Apple’s — eliminate software and settings before suspecting hardware — but the menu paths are Samsung-specific.
1. Confirm mobile data and SIM status
Swipe down from the top of the screen and confirm Mobile data is on. Then go to Settings > Connections > SIM card manager (wording varies by model and region) and confirm your SIM is enabled and recognized. If you have a dual-SIM phone, make sure the correct SIM is selected for calls and mobile data.
2. Toggle Airplane Mode and restart
Same as iPhone: Airplane Mode on for 10–15 seconds, then off. If that fails, do a full restart. On most Galaxy phones, hold the Side key and Volume Down together, tap Power off, then hold the Side key to power back on.
3. Reseat the SIM card
Power off, remove the SIM tray, take out the card, and gently wipe both the card and tray with a soft, dry cloth. Reinsert the card so it sits flat and fully seated, then push the tray in until it is flush. A card that shifted after a drop is a common and easily fixed cause.
4. Change the network mode
Go to Settings > Connections > Mobile networks > Network mode. Your selected mode may not work properly in your current location. Try switching between the available modes (for example, between 5G/4G/3G/2G auto-connect and 4G/3G/2G auto-connect) and check whether service returns. A phone locked to 5G in an area with weak 5G coverage can show No Service while a 4G connection would work fine.
5. Manually select the network operator
Go to Settings > Connections > Mobile networks > Network operators, turn off automatic selection, let the phone search, and choose your carrier manually from the list. Then switch automatic selection back on. This clears the same “wrong network” problem described for iPhone above.
6. Reset APN (Access Point Name) settings
Incorrect APN settings can prevent the device from connecting to the mobile network, particularly after switching carriers or using a phone bought elsewhere. Go to Settings > Connections > Mobile networks > Access Point Names, tap the three-dot menu, choose Reset to default, and confirm. This restores the carrier’s standard data settings without touching your personal data.
7. Reset mobile network settings
Go to Settings > General management > Reset > Reset mobile network settings, then confirm. This resets Wi-Fi, mobile data, and Bluetooth settings to defaults without deleting your personal data. You will need to re-enter Wi-Fi passwords afterward.
8. Update software and run diagnostics
Go to Settings > Software update > Download and install. Then, if the problem persists, open the Samsung Members app, tap Support, and run the Mobile network diagnostic to check the phone’s cellular hardware status. A failed diagnostic here is meaningful evidence when you talk to a carrier or a repair shop.
9. Contact your carrier
Samsung’s guidance ends the same way Apple’s does: if the steps above do not restore service, contact your service provider. They can check the line status, re-provision the SIM, and confirm whether the problem is on the network side.
For Galaxy A series owners, note that mid-range models can have their own quirks around network behavior; our guide to common Galaxy A series problems covers model-specific behavior worth ruling out.
Physical SIM checks: card, tray, and reader
When the problem follows the SIM rather than the phone — or vice versa — you have your answer. These checks separate card problems from reader problems.
Inspect the SIM card
Look at the gold contact area under good light. Light surface marks are normal; deep scratches, cracks, chips, or a bent card are not. SIM cards are consumable items — carriers replace them cheaply or free, and a fresh SIM fixes a surprising number of “mystery” signal problems.
Try the SIM in another phone
If you can borrow a compatible unlocked phone: put your SIM in it. If it gets service there, your SIM and account are fine and the problem is in your phone. If it shows No Service there too, the problem is the SIM or the account — contact your carrier for a replacement SIM.
Try a known-good SIM in your phone
The mirror test: put a different active SIM (a family member’s, for example) in your phone. If it gets service, your phone’s reader is fine and your SIM is suspect. If a known-good SIM also shows No Service, the phone itself — reader, antenna path, or modem — is the likely culprit.
Check the SIM tray
A bent tray, a tray that does not sit flush, or a tray borrowed from a different model can prevent proper contact. Use only the tray that came with your phone, and make sure it clicks fully closed.
Quick fact: Never cut a SIM card down to a smaller size with scissors or a craft cutter. A mis-cut SIM can jam in the tray, damage the reader pins, and turn a free carrier SIM swap into a hardware repair. Ask your carrier for the correct size.
eSIM checks (all brands)
eSIM problems are software problems — there is no card to reseat — so the checks are about the profile and the line state.
- Confirm the line is enabled: on iPhone, Settings > Cellular > tap the line; on Samsung, Settings > Connections > SIM manager; on Pixel, Settings > Network & internet > SIMs. A line that was accidentally turned off looks exactly like No Service.
- Check the profile status with your carrier: ask them to confirm the eSIM is active and correctly provisioned on their side, and ask them to reissue or push the profile again if anything looks stale.
- Do not delete the eSIM profile unless your carrier instructs you to. Deleting it removes your only path back to service until the carrier issues a new one.
- After travel: if you used a travel eSIM, make sure your home line is re-enabled and selected for calls and data. Phones do not always switch back automatically.
Account and carrier-side causes: when the phone is innocent
A large share of No Service cases has nothing to do with the device. Run through this list before concluding the phone needs repair — and contact your carrier early, because only they can check or fix these.
Unpaid bill or suspended line
Carriers suspend lines for missed payments. The phone gives no warning beyond losing service. Check your account status in the carrier’s app or website over Wi-Fi.
Plan changes and number ports
Switching plans, porting a number between carriers, or activating a new line can leave a gap of hours (sometimes a day) with no service. If the timing matches, wait out the porting window and confirm with the carrier rather than resetting the phone repeatedly.
Carrier outage or tower work
Check the carrier’s outage map or status page, and ask neighbors on the same carrier. A localized outage explains No Service on a healthy phone perfectly.
Carrier lock after switching SIMs
If you inserted a SIM from a different carrier and now see No Service (or “SIM Not Supported”), the phone may be carrier-locked. Our guide on how to check if your phone is unlocked explains how to verify lock status on iPhone, Samsung, and Pixel — and only the original carrier can unlock it.
Lost, stolen, or blacklisted status
A phone reported lost or stolen can be blacklisted by IMEI, blocking it from all networks. If you bought the phone used and it suddenly shows No Service or SOS Only, check the IMEI status with your carrier. This is not repairable at a shop — it is a carrier and ownership issue.
Data-only or expired prepaid plans
Some prepaid and travel plans expire or run out of credit silently. The phone shows No Service or emergency-calls-only when the plan lapses. Top up or renew, then restart the phone.
Important: Never pay a third-party website or “unlock service” that promises to fix No Service or remove a blacklist remotely. Legitimate carrier issues are resolved through the carrier; unofficial services cannot re-provision a line and are a common source of scams.
Symptom worksheet: match what you see to the likely cause
| What you see | Likely category | First thing to try |
|---|---|---|
| “No Service” everywhere you go, all day | Account, SIM, or hardware | Check account status; try SIM in another phone |
| “No Service” in one location only | Coverage or outage | Check carrier outage map; test a few blocks away |
| “Searching…” that never resolves | Wrong network mode or stale registration | Toggle Airplane Mode; check network selection/mode |
| “SOS Only” / “Emergency calls only” | Account, SIM provisioning, or lock status | Contact carrier; check unlock status |
| “No SIM” / “Invalid SIM” | SIM card or SIM reader | Reseat SIM; inspect card; try another SIM |
| Service drops after a software update | Software or carrier settings | Carrier settings update; restart; check for newer update |
| Service drops after switching carriers | Provisioning or carrier lock | Confirm activation completed; check unlock status |
| No Service after the phone was dropped | Hardware (antenna/SIM reader) | Reseat SIM; if unchanged, seek assessment |
| Signal bars full but calls fail | Network congestion or account issue | Try later/another location; contact carrier |
| Intermittent drops in the same spot | Weak signal or tower handoff | Try Wi-Fi calling; check with carrier about coverage |
What these checks can and cannot establish
| Observation | What it establishes | What it does not establish |
|---|---|---|
| Service returns after restart | The cause was a temporary software or registration glitch | That it will not recur; watch for a pattern |
| Another SIM works in your phone | Your phone’s cellular hardware is likely fine | Whether your original SIM or the account is at fault — test the SIM elsewhere too |
| Your SIM works in another phone | Your SIM and account are likely fine | Which phone component is at fault — that needs assessment |
| No Service on every SIM tried | The problem is in the phone, not the SIM or account | Which component — reader, antenna, or modem |
| Wi-Fi works normally | The phone powers on and its Wi-Fi radio works | That the cellular radio, SIM reader, or antenna is healthy |
| Samsung Members diagnostic passes | The phone’s self-test sees no modem fault | That the carrier account or network is healthy |
Hypothetical examples (illustrations, not real cases)
Note: The following are hypothetical illustrations to show how the diagnostic logic works. They are not real customer repairs.
Example 1: No Service after a carrier switch (hypothetical)
This is a hypothetical illustration, not a real customer case. Imagine Maya ports her number to a new carrier on a Friday evening. By Saturday morning her phone shows No Service. She restarts twice with no change, then calls the new carrier, who tells her the port is still processing and should complete within 24 hours. By Sunday afternoon, service appears on its own. The checks that mattered: confirming the timing matched the port, and contacting the carrier instead of resetting the phone repeatedly.
Example 2: The shifted SIM after a drop (hypothetical)
This is a hypothetical illustration, not a real customer case. Imagine Daniel drops his Galaxy phone on tile. It powers on fine but shows No Service. He powers it off, removes the SIM tray, finds the card slightly askew, reseats it flat, and service returns immediately. The drop shifted the card just enough to break contact — a two-minute fix once the SIM was suspected.
Example 3: The stale eSIM after travel (hypothetical)
This is a hypothetical illustration, not a real customer case. Imagine Priya returns from abroad, where she used a travel eSIM. Her home line shows No Service. In Settings she finds the travel eSIM still selected for mobile data and her home line toggled off. Re-enabling the home line and selecting it for data restores service instantly. Nothing was broken — the phone was simply still configured for the trip.
When to stop troubleshooting and seek assessment
Stop and get professional help if any of the following are true:
- You have completed the full manufacturer sequence for your phone (Apple’s or Samsung’s steps above), contacted your carrier, and the carrier confirms the account, line, and SIM are all correct — yet No Service persists.
- A known-good SIM from another active line also shows No Service in your phone. That isolates the fault to the device.
- The problem began immediately after physical damage — a drop, a bend, or liquid exposure — especially if the SIM tray area took the impact.
- The SIM tray is damaged, bent, or will not close properly, or you see damaged pins inside the SIM slot (do not poke at them).
- The phone shows No Service along with other hardware symptoms: the phone gets unusually hot, restarts on its own, or other functions (Wi-Fi, Bluetooth) are also failing.
Stop for safety: If the phone is swollen, the screen is lifting, the battery area feels distorted, or you smell something chemical or sweet near the device, stop using and charging it immediately. A failing battery is a safety issue, not a signal issue — do not continue troubleshooting.
Questions to ask before approving any service
If the diagnosis points to the phone and you are considering professional assessment, ask these questions first:
- What exactly did the diagnostic find? Ask which component is suspected (SIM reader, antenna flex, modem/board) and what test established that — not just “it needs repair.”
- Is the SIM reader/board issue repairable on this model, or does it require board-level work? Board-level modem faults are often uneconomical to repair; an honest shop will say so.
- Will the repair affect water resistance? Any phone opened for service loses its factory seal; water resistance cannot be restored to factory condition afterward.
- What happens to my data? Confirm whether the work risks data loss, and back up before handing the phone over.
- What is the diagnostic fee, and is it applied to the repair? Get this in writing before leaving the phone.
- What warranty covers the work? Ask what is covered and for how long, in writing.
Repair, replacement, and carrier-support considerations
No Service is unusual among phone problems because the fix is so often not a repair. Before spending money on service, make sure you have genuinely eliminated the free fixes: carrier confirmation, a replacement SIM, and the full settings sequence. Many people pay for a diagnostic only to learn the carrier had suspended the line or the SIM was faulty — both resolved without touching the phone.
If the fault is confirmed in the phone’s hardware, weigh the phone’s age and value. A SIM-reader repair on a recent flagship may be worthwhile; board-level modem failure on an older mid-range phone often is not, and the money is better put toward a replacement. If you do replace the phone, remember to check that the new device is unlocked for your carrier — see our guide on how to check if your phone is unlocked before you buy.
For persistent weak-signal locations (as opposed to No Service everywhere), ask your carrier about Wi-Fi calling, which routes calls over your home or office Wi-Fi and sidesteps marginal tower coverage entirely. It is a carrier feature, not a repair, and it solves the “no bars in my apartment” problem for many people.
Keeping service stable: prevention habits
- Keep carrier settings current: accept carrier settings update prompts when they appear instead of dismissing them.
- Keep a spare SIM tool handy (or know where the phone’s ejector is) so a reseat does not require improvising with sharp objects.
- After travel: double-check which line is active for calls and data when you return home.
- After switching carriers: confirm the old line is fully ported and the new activation is complete before assuming a phone fault.
- Protect the SIM area: a case that covers the tray snugly reduces the chance of a card shifting in a drop.
- Know your account status: autopay failures and expired prepaid plans are silent service killers — check the carrier app if service vanishes unexpectedly.
Local help in Las Vegas
If you have worked through the checks above, confirmed with your carrier that the account and SIM are correct, and the phone still shows No Service, a hands-on assessment is the next step. Las Vegas Phone Repair & Accessories, 7400 Las Vegas Blvd S, Unit TT42, Las Vegas, NV 89123, (424) 406-6202 — open 10AM–8PM; call ahead to confirm today’s hours — can examine the SIM reader, tray, and antenna connections and tell you whether the fault is repairable on your model. Bring the phone powered off with the SIM tray accessible, and have your carrier’s confirmation (that the line and SIM are good) ready — it saves diagnostic time.
Video: How to tell if your smartphone is fake or real
Frequently asked questions
Can I still use Wi-Fi if my phone says No Service?
Yes. No Service affects only the cellular connection. Wi-Fi, apps, browsing, and Wi-Fi-based messaging all work normally, which is also why you can use Wi-Fi to check your carrier’s outage page and account status while troubleshooting.
Will resetting network settings delete my photos or apps?
No. On both iPhone and Samsung, resetting network settings clears Wi-Fi networks and passwords, cellular and VPN settings, and Bluetooth pairings — but not photos, apps, messages, or other personal data. You will need to re-enter Wi-Fi passwords afterward.
Why does my phone say SOS Only instead of No Service?
SOS Only (iPhone) or “Emergency calls only” (Android) means the phone can reach a network for emergency calls but cannot register on your carrier for regular service. Because the radio demonstrably works, this usually points to the account, SIM provisioning, or carrier lock rather than dead hardware.
Should I remove my eSIM to fix No Service?
No — not unless your carrier tells you to. Deleting an eSIM profile removes your only route back to service until the carrier issues a new one. Ask the carrier to check and reissue the profile on their side first.
My phone shows No Service only at home. Is it broken?
Probably not — that pattern points to weak coverage or a tower issue at that location, not a phone fault. Test a few blocks away, check the carrier’s coverage map, and ask about Wi-Fi calling, which routes calls over your home Wi-Fi.
Can a carrier-locked phone show No Service with another carrier’s SIM?
Yes. A locked phone may show No Service or “SIM Not Supported” with another carrier’s SIM. Check the lock status using the steps in our carrier lock status guide — only the original carrier can unlock it.
How do I know if it is the SIM or the phone?
Cross-test: your SIM in another phone, and another active SIM in your phone. If your SIM works elsewhere, the SIM and account are fine. If another SIM also fails in your phone, the phone is the problem. That two-way test is the most reliable isolation step in this whole guide.
Does No Service drain the battery faster?
Often, yes. A phone showing “Searching” continuously scans at full radio power trying to find a network, which drains the battery noticeably faster. Until you resolve it, keeping the phone in Airplane Mode (with Wi-Fi on if needed) reduces the drain.
Sources and editorial notes
- Apple Support — “If you see No Service or Searching on your iPhone or iPad”: the eight-step sequence summarized above (check coverage, restart, carrier settings update, reseat SIM, reset network settings, update iOS, contact carrier, get more help), plus the SIM-tray fit note. Summarized in original language.
- Samsung Support — “What to do if calls disconnect or there is no network signal on your Galaxy device”: resetting mobile network settings, resetting APN to default, changing network mode, and the Samsung Members mobile-network diagnostic. Summarized in original language.
- Samsung Support — “How to troubleshoot mobile data issues” (updated October 5, 2026): confirming mobile data is enabled, force restart, reset network settings path, and contacting the service provider. Summarized in original language.
- Technobezz — “No Service on iPhone? 15 Ways to Fix It” (2026): eSIM-line check on eSIM-only iPhones, manual network selection, and the Date & Time handshake note, used as supplementary context for widely reported steps. Summarized in original language.
- General carrier guidance: account suspension, number-porting windows, outage checks, and IMEI blacklisting are standard carrier-side factors described across carrier support pages; no carrier-specific policy is stated as fact — readers are directed to verify with their own carrier.
Last source check: October 13, 2026. AI-assisted editorial guide, checked against the linked manufacturer information. Manufacturer steps are summarized in original language; no manufacturer text is reproduced. Menu paths may vary slightly by model, region, and software version — use your phone’s Settings search if a path differs.
Let’s get you connected again.
Tell us what’s happening with your device and we’ll help you decide the safest next step — no jargon, no pressure.
Las Vegas Phone Repair & Accessories · 7400 Las Vegas Blvd S, Unit TT42, Las Vegas, NV 89123
10:00 AM–8:00 PM — call ahead to confirm today’s hours