
How to Transfer Data from Broken Sony Phone to New Phone: Complete Guide
Yes — even with a cracked or partially broken Sony Xperia, you can usually move your data to a new phone. If your phone backs up to Google, restoring onto the new phone at setup is the simplest path; if the old phone still works despite the damage, Sony’s Xperia Transfer 2 or a direct USB cable copy covers the rest.
On this page
Yes — even with a cracked or partially broken Sony Xperia, you can usually move your data to a new phone.
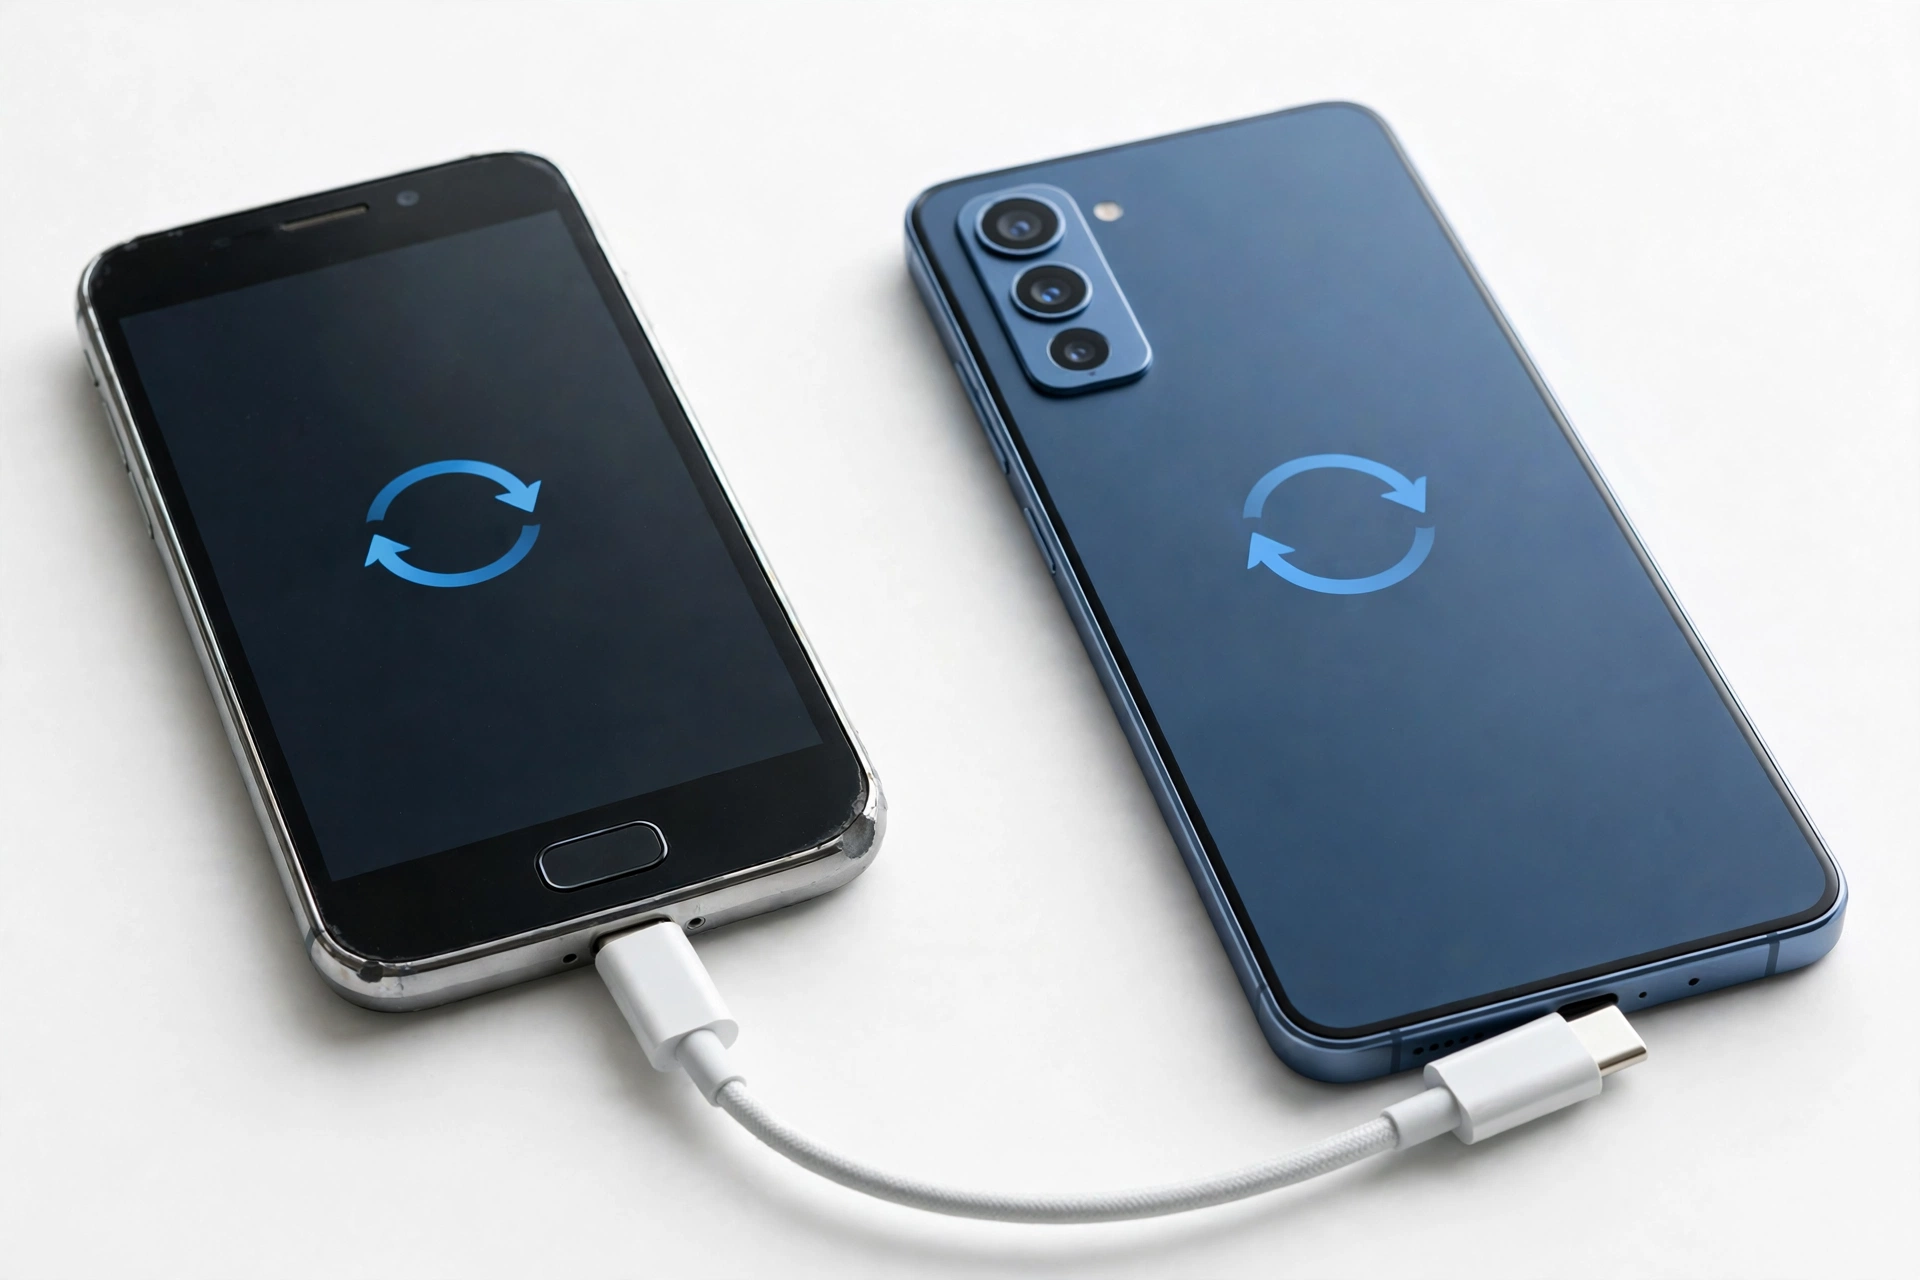
1. Who this guide helps
This guide is written for anyone whose Sony Xperia (or another Android phone, if you’re switching to an Xperia) has a broken screen, a damaged but working body, or a phone that has died entirely, and who needs their contacts, photos, messages, and other data moved to a new phone. It is Sony-specific: it covers the tools Sony itself ships and documents — primarily the Xperia Transfer 2 app — and it is honest about where those tools stop helping, which is exactly the point where most generic transfer guides go quiet. (Source: apkmirror.com)
Before you pick a method, answer one organizing question, because it decides which half of this article applies to you:
Did the broken phone back up to Google before it broke?
If yes, you can likely skip the broken phone altogether — the restore happens on the new phone during its initial setup, and the old phone’s condition becomes nearly irrelevant. That is Path A. If you don’t know, or the answer is no, and the old phone still responds in some way (screen lights up, sounds play, it charges), that’s Path B. If the phone is completely dead — no lights, no sounds, no vibration, no signs of life even on a charger — that’s Path C.
2. The organizing decision: which path are you on?
Working from the wrong path wastes time and, worse, can waste a dying phone’s last battery charge. Use this triage to place yourself:
| Path | Situation | What you do |
|---|---|---|
| Path A — Cloud restore | Google Backup was on (the usual default); the new phone is not yet set up | Restore during the new phone’s setup wizard — the broken phone is not needed |
| Path B — Direct move | No usable cloud backup, but the broken phone still powers on and responds somehow | Xperia Transfer 2, USB cable copy, or OTG workaround on the broken phone itself |
| Path C — Dead phone | No power, no lights, no vibration, not recognized by a computer | Resuscitation attempts, then cloud sources, SIM/SD cards, then a professional assessment |
If you are on Path A, read sections 3 and 4, then skip to section 9 (what the cloud does not save) and section 11 (new-phone preparation). If you are on Path B, sections 5 through 8 are your core. If you are on Path C, go straight to section 8 and 9.
Quick fact: Most Sony Xperia phones made in recent years back up to Google automatically when the feature is switched on, which it is by default on many devices. That is why “did it back up?” comes before everything else.
3. Path A: restoring from a Google backup on the new phone
When your broken Xperia had Google Backup enabled, the most reliable and least fiddly move is to restore from that backup during the new phone’s first-time setup. Sony’s own documentation and carrier-hosted Xperia guides describe Google Drive as a cloud storage app that uploads backups to Google, and the backup is used to restore data and settings when going through the setup guide in a new device, or in a device that has been reset to factory settings. Your backups are encrypted using your Google account password; for some data, the screen lock PIN, pattern, or password is also used for encryption.
On the new phone’s setup wizard, when you reach the “Copy apps and data” (or “Bring your data from…”) screen, choose to restore from your Google account backup rather than skipping setup. The wizard will list the backups tied to the Google account you sign in with, typically dated. Pick the most recent one from your broken Xperia. The restore then runs unattended: apps reinstall from the Play Store, and contacts, calendar events, photos (if Google Photos backup was on), device settings, and Wi-Fi networks come down from the cloud.
3.1. The catch: it must happen during setup
If you have already finished setting up the new phone and skipped the restore screen, the restore option will not reappear later on its own. The documented fix is to factory reset the new phone and run setup again, choosing the backup this time. That sounds drastic, but on a brand-new phone that contains nothing yet, it costs only a few minutes. Do not reset a phone that already contains data you want without backing that data up first.
Stop for safety: Do not factory-reset your broken Xperia in an attempt to fix the damage before your data is secured — a reset wipes the phone’s encryption keys and makes the remaining data unrecoverable. A reset is only a step for the new phone.
3.2. What a Google backup typically includes (and the 57-day rule)
Google’s backup typically covers installed apps and their data (for apps that allow it), contacts, calendar, SMS messages (where the backup feature is enabled), photos and videos (only if Google Photos backup was switched on), device settings, and call history. Google’s support notes that backups expire — a backup that hasn’t been updated in about 57 days is removed. So check the backup’s date: if your phone broke in October and the last backup is from August, that is stale, and anything changed since August will not be in it. That gap is what Paths B and C are for.
4. Sony’s official transfer tool: Xperia Transfer 2, honestly explained
When the broken phone still works — screen responding at least partly, or at least powering on — Sony’s own official tool is Xperia Transfer 2, a free app from Sony Mobile Communications. Sony’s documentation describes it as the way to transfer data such as music, photos, videos, document files, contacts, device settings, schedules, call history, SMS/MMS, and more when you switch to a Sony Xperia.
Here is the honest framing first, because it is the point most other guides skip: Xperia Transfer 2 requires two working phones. The documented flow is that you open Xperia Transfer 2 on the destination device, install and open it on the source device, and then follow the onscreen instructions to connect and transfer content — either with a USB cable or over a Wi-Fi connection. If your broken Xperia’s screen is dead and the touch is dead, you cannot tap through those onscreen instructions, and Xperia Transfer 2 cannot help you directly. That limitation is not a secret — it follows directly from how the app is designed to work.
4.1. What Xperia Transfer 2 can move
According to Sony’s published app description, the transferable data list is: photos, videos, music, documents (only from Android smartphones), contacts, call history (only from Android smartphones), messages (SMS/MMS), calendar, and settings (only from another Xperia). Transfer methods: from an Android phone to an Xperia, USB or Wi-Fi Direct; from an iPhone to an Xperia, USB or iCloud. The sending device must run Android 6.0 or higher, or iOS 9.0 or higher.
4.2. What it cannot move — Sony’s own caveats
Sony’s documentation lists several limits worth knowing before you start:
- DRM-protected data cannot be transferred — music or video tied to copy protection stays behind.
- Documents only transfer if both devices run Android 10 or earlier. On newer Android versions, document transfer is not available in the app.
- From an Android phone over USB, files larger than 4GB cannot be transferred.
- Only files saved in internal storage can be transferred — nothing from an SD card.
- Data synced with online services (such as contacts or calendar already synced to Google) might not be transferred — though in that case it will simply appear on the new phone once you sign in.
- App data such as games is not transferred. Sony’s own support guidance recommends Google’s services for copying apps and data, and reinstalling apps one by one from the Play Store library.
4.3. The Xperia 1 IV / 10 IV boundary
One important compatibility note, stated in Sony’s current app listing: Xperia Transfer 2 cannot transfer data to Xperia 1 IV, Xperia 10 IV, or later models. For those newer devices, Sony directs users to the data-transfer tool provided by the Android OS itself (Google’s standard “copy apps and data” flow). So if your new phone is an Xperia 1 IV, 10 IV, or anything newer (Xperia 1 V, 1 VI, and so on), skip Xperia Transfer 2 and use Path A’s setup-wizard flow or a cable copy — see section 5.
4.4. The older Xperia Transfer Mobile
If you own an older Xperia (roughly 2018 and earlier), the transfer option may be called Xperia Transfer Mobile instead, reached via Settings → System → Xperia Transfer Mobile on some models (carrier guides for the Xperia XZ2 Compact document exactly this path). The app pair works the same way — install it on both phones, one sends, one receives, paired over Wi-Fi Direct or cable. Xperia Transfer 2 is not compatible with the older Xperia Transfer Mobile app; both devices must run the same generation. For a broken older phone, everything said here about needing a working screen applies equally.
Tip: Xperia Transfer 2’s job is moving from a working old phone to a new Xperia. When the old phone is broken, Google backup (Path A) is the primary route and Xperia Transfer 2 is the backup plan for whatever the cloud missed — not the other way around.
5. Path B: moving data when the broken phone still works
“Broken” covers a wide range. The method that works depends on which parts of the phone still work. Assess honestly:
- Case 1 — display alive, touch dead: you can see the screen but can’t tap it. This is the best case, because a cheap USB OTG adapter and a wired mouse give you a working cursor (see section 6).
- Case 2 — display dead, touch alive: the screen is black or cracked beyond reading, but the phone vibrates, plays sounds, or unlocks with a known gesture. Blind USB file copy or an external display over USB-C can work.
- Case 3 — partially responsive: the screen flickers or shows part of the picture; you can sometimes complete a tap sequence with patience.
Start every Path B attempt the same way: charge the phone for at least 30 minutes on a known-good charger and cable before judging it dead. A phone that “won’t turn on” is often a phone with a fully drained battery plus a damaged power button, and forcing recovery steps on a flat battery helps nothing.
5.1. USB cable copy to a computer
If the phone powers on and you can unlock it (even by muscle memory or fingerprint), connect it to a computer with a USB cable. On the phone, the USB connection mode must be set to file transfer (MTP) — if the screen is unusable, try unlocking the phone first, since many Xperias default to file transfer once unlocked. If the computer recognizes the phone, copy the DCIM folder (photos/videos), plus Music, Documents, and Downloads, in that priority order. This is often the fastest way to rescue photos, because photos are usually the largest and most valuable data on the phone.
5.2. Xperia Transfer 2 with a working or OTG-assisted screen
If the broken Xperia’s screen is at least partly usable (or becomes usable with the OTG-mouse workaround in section 6), follow Sony’s documented flow: open Xperia Transfer 2 on the new Xperia, install it on the broken phone, choose the source type, connect over Wi-Fi Direct or USB cable, confirm the pairing code, select the content, and tap transfer. Keep both phones charged or plugged in, and don’t add, revise, or delete content on either phone while the transfer runs — Sony’s guidance explicitly warns against disrupting the process.
5.3. Wi-Fi Direct pairing notes
Wi-Fi Direct does not need a router, which matters if the broken phone can’t comfortably browse settings. Both phones need Wi-Fi switched on; the new phone generates a code that you enter on the old one (or the reverse, depending on the app version). Because this needs screen interaction on both phones, it is only practical when the broken phone’s display and touch both work — even barely.
Quick fact: Xperia Transfer 2 transfers directly between phones and does not store your data on Sony’s servers — Sony’s listing states “the transferred data will not be stored on the server.” That is good for privacy, but it also means there is no cloud fallback inside the app if the transfer is interrupted.
6. The OTG mouse trick for a touch-dead Xperia screen
For Case 1 (you can see the screen but touch doesn’t respond), a USB OTG adapter and an ordinary wired computer mouse turn the phone back into a controllable device. Plug the OTG adapter into the Xperia’s USB-C port, plug the mouse into the adapter, and a cursor appears on the phone’s screen. You can now tap, drag, type, and approve dialogs — enough to authorize a USB file transfer, approve the Xperia Transfer 2 pairing code, or toggle settings.
A few practical notes:
- Use a wired mouse, not Bluetooth — pairing a Bluetooth mouse requires taps you can’t make yet.
- Xperia phones have supported USB OTG for years; most models recognize a mouse with no setup.
- The mouse also unlocks the phone if you know the PIN — click each digit on the on-screen keypad.
- Adapters cost very little at electronics stores; if the screen is only cracked but visible, this single accessory rescues the whole Path B workflow.
Stop for safety: Never open the phone to “fix” the screen yourself before recovering data. Xperia phones use glued, water-resistant assemblies; prying them open risks puncturing the battery, which can cause fire or chemical burns. Data first, repair second — and the repair by a technician.
7. Method comparison: what each path requires and where it falls short
| Method | Requires | Best for | Limitations |
|---|---|---|---|
| Google backup restore (Path A) | Backup was on before the break; new phone not yet set up | Fastest full restore of apps, settings, contacts | Misses anything after the last backup date; needs the backup to exist at all |
| Xperia Transfer 2 (Path B) | Both phones at least partly operable; new phone is an Xperia 1 III generation or older | Photos, videos, music, messages, call history, contacts | Needs two working screens; no DRM content; no documents on Android 11+; no app data |
| Android setup-wizard copy (Path B) | New phone is Xperia 1 IV/10 IV or newer, or any Android | Sony’s recommended route for newer Xperias | Needs the old phone responsive enough to authorize the copy |
| USB cable copy to computer (Path B) | Phone unlockable and recognized over USB | Bulk photo/video rescue | Internal storage only; can’t reach app data or messages |
| OTG mouse control (Path B) | Display visible, touch dead, OTG adapter + wired mouse | Unlocking every other method on a touch-dead phone | Does nothing if the display itself is dead |
| External display over USB-C (Path B) | Phone supports video-out over USB-C; compatible adapter | Seeing a black-screen phone’s display | Not all Xperia models support video-out; still needs touch or a mouse |
| SIM / SD card move (Path B/C) | Removable card with portable-storage files | Photos saved to SD card, contacts saved to SIM | SD cards formatted as internal (“adopted”) storage are encrypted to the dead phone and unreadable elsewhere |
| Cloud sources individually (Path C) | Accounts were signed in and syncing | Contacts, calendar, photos via Google Photos | Only what actually synced; nothing device-local |
Notice the pattern: every method’s value depends on something that was true before the phone broke — backup on, sync on, files on portable storage. The best time to make the next transfer easy is right after this one succeeds (see section 12).
8. Path C: the phone is completely dead
A phone with no lights, no sounds, no vibration, and no computer recognition after 30+ minutes on a known-good charger is, for your purposes, dead. Work through this sequence — each step takes minutes and rules out a cheap cause before you accept the expensive one:
- Change the variables: try a different cable, a different charger, and a different wall outlet. Cables fail more often than phones.
- Force a restart: on most Xperias, hold Power + Volume Up for about 10–15 seconds. A phone stuck in a crashed state can look dead.
- Leave it charging for an hour after the forced restart attempt, then try once more.
- Try the computer again: a phone that won’t display anything may still enumerate over USB. If the computer sees it, copy files immediately — don’t troubleshoot further first.
If none of this works, your data now lives only where it already left the phone:
- Google account: sign in on the new phone or a computer and check Google Contacts, Google Calendar, Google Photos, and Google Drive. Whatever synced is safe regardless of the phone.
- WhatsApp and other apps: WhatsApp keeps its own separate backup (Google Drive on Android) — check whether it was enabled; it is independent of the phone’s system backup.
- SIM card: contacts stored on the SIM move with the card. Most modern phones store contacts in the Google account instead, so check there first.
- SD card: remove it and read it in the new phone or a computer — unless it was formatted as internal (adopted) storage, in which case it is encrypted to the dead phone and cannot be read elsewhere.
- Professional assessment: a repair shop can sometimes revive a dead board long enough to boot and copy data — a board-level repair or a temporary power repair purely to extract data. This is real but expensive, never guaranteed, and should be framed as an assessment, not a promise.
Stop for safety: If the phone is swollen, distorted, unusually hot, or smells chemical, do not charge it and do not try to power it on. Put it somewhere non-flammable away from people and pets, and take it to a professional. A damaged lithium battery can vent or ignite.
8.1. The encryption honesty note
Modern Xperia phones encrypt their internal storage with keys tied to the phone’s own hardware. This has a consequence people find surprising: removing the storage chip and reading it elsewhere does not bypass the lock. Any data-recovery lab must revive the board enough to boot and unlock — that is why dead-phone recovery is expensive, why it is never guaranteed, and why any shop that guarantees recovery before seeing the phone is a red flag, not a reassurance.
9. Data that defeats every method
Even a perfect transfer leaves some things behind. Knowing the list in advance prevents a nasty surprise a week later:
- Authenticator app codes: most authenticator apps do not transfer codes unless their own cloud backup was enabled. Re-enroll each account with its backup codes or recovery process.
- Banking and payment apps: these deliberately require re-verification on a new device. Plan to re-authenticate each one.
- WhatsApp without its own backup: if WhatsApp’s separate Google Drive backup was off, chat history does not come back with a system restore.
- DRM-protected media: Sony’s transfer documentation explicitly excludes DRM-protected data — licensed music and video must be re-downloaded from the service.
- App logins and game progress: Xperia Transfer 2 does not move app data; reinstall apps and sign in again, and check whether each game’s progress was tied to an account.
- Files on an adopted SD card: encrypted to the old phone; unreadable anywhere else.
10. New-phone preparation checklist
Do these before you start the transfer, while the broken phone is still (hopefully) alive:
- Charge both phones fully, or keep them plugged in during the transfer.
- Have Wi-Fi available and know the password.
- Make sure the new phone has enough free storage for everything you’re moving.
- Don’t interrupt the transfer — Sony’s guidance warns against adding, revising, or deleting content on either phone mid-transfer.
- If restoring from Google backup, don’t skip the restore screen during setup — it won’t come back without a factory reset.
- Verify afterwards: Sony’s documentation says to “confirm results after transferring important content.” Open the photo gallery, check contacts, and spot-check messages on the new phone before you wipe or discard the old one.
11. What your observations can and cannot establish
People naturally read meaning into a broken phone’s behavior. This table keeps the reasoning honest:
| Observation | What it can establish | What it cannot establish |
|---|---|---|
| Screen cracked but picture visible | The display panel likely still works; touch layer may or may not | Whether the phone will stay working — cracks spread and touch can fail later |
| Phone vibrates or plays sounds | The main board is alive; data is probably intact | That you can reach the data without a working screen or USB authorization |
| Computer recognizes the phone | USB and storage subsystems work; file copy is possible | That messages, app data, or settings are reachable — those need more than file copy |
| No signs of life at all | Power delivery or board failure is likely | That the data is gone — storage chips often survive a dead power circuit |
| Xperia Transfer 2 shows fewer data types than expected | Some content is excluded by design (DRM, documents on Android 11+, cloud-synced items) | That anything is wrong with your phones — check the app’s own content list first |
12. Make the next transfer painless
Once your data is safe on the new phone, spend five minutes preventing a repeat:
- Confirm Google Backup is on: Settings → System → Backup, and check the last backup date.
- Turn on Google Photos backup if your photos matter to you — it’s the single most common rescue in broken-phone cases.
- Check WhatsApp’s own backup setting separately — it doesn’t follow the system backup.
- Export authenticator codes or enable the authenticator’s cloud backup now, while you can still see the old codes.
- Save files you care about to portable SD storage or a computer periodically, not only on the phone.
13. When to stop and get help
Stop troubleshooting and seek a professional assessment if: the phone is swollen, hot, or smells chemical; the phone gets unusually hot during charging; no method in Path C produces any sign of life; or the data is valuable enough that a failed DIY attempt would make things worse (for example, repeated forced restarts on a phone with a failing board). A local shop can advise whether a board-level revival for data extraction is feasible — framed as an assessment, with no guaranteed outcome.
For readers in the Las Vegas area, Las Vegas Phone Repair & Accessories (7400 Las Vegas Blvd S, Unit TT42, Las Vegas, NV 89123; (424) 406-6202; open 10:00 AM–8:00 PM — call ahead to confirm today’s hours) can assess a broken or dead Xperia and advise on data-recovery options.
Related guides: how to transfer data from a broken phone (general guide), transferring data from a broken Asus phone, and transferring data from a broken Itel phone.
Video: How to transfer everything from old to new Android
Frequently asked questions
Can Xperia Transfer 2 move data from a phone with a dead screen?
No — not directly. The app’s documented flow requires following onscreen instructions on both phones, including entering a pairing code on the old device. If the screen is dead and touch is dead, you cannot complete those steps. Use the OTG-mouse workaround if the display is still visible, or fall back to a Google backup restore or USB cable copy.
Does Xperia Transfer 2 work with the newest Xperia phones?
Xperia Transfer 2 does not support transferring to Xperia 1 IV, Xperia 10 IV, or later models — Sony’s own listing says to use the data-transfer tool provided by the Android OS for those. For older receiving models (up to the Xperia 1 III / 5 III generation), it works as documented.
Will my apps transfer with Xperia Transfer 2?
No. Sony’s support guidance is explicit that app data such as games is not transferred by Xperia Transfer 2, and recommends Google’s services plus reinstalling apps from the Play Store library. Sign back into each app on the new phone.
What if my Google backup is older than my most recent photos?
The restore only contains what was backed up by the backup date. For anything newer, use a Path B method — USB cable copy of the DCIM folder is the fastest way to grab recent photos if the phone is still recognized by a computer.
Can I transfer documents with Xperia Transfer 2?
Only if both phones run Android 10 or earlier — Sony’s documentation states this limit directly. On newer Android versions, copy documents over USB cable to a computer instead, or rely on a cloud drive where they may already be synced.
My SD card isn’t readable in the new phone. Why?
If the card was formatted as internal (adopted) storage on the old phone, it is encrypted with keys tied to that phone and cannot be read anywhere else. Only cards used as portable storage move freely between devices.
Is it safe to keep charging a phone that was dropped in water?
No. Never charge a wet phone — charging a wet device risks short circuits and battery damage. Let it dry completely first (Sony’s water-resistance guidance aside, a damaged phone should be treated as compromised), and if it was submerged, have it assessed before powering it on.
Should I factory reset the broken phone to fix it before transferring?
No — never reset the broken phone before your data is secured elsewhere. A factory reset wipes the encryption keys and makes the remaining data unrecoverable. Fix the data situation first; worry about the phone second.

Sources and editorial notes
- Xperia Transfer 2 app listing (Sony Mobile Communications) — transferable data list, transfer methods, supported devices, DRM/document/storage caveats, and the Xperia 1 IV / 10 IV compatibility note. Summarized in original language.
- Sony Xperia 1 III Help Guide — Transferring content using the Xperia Transfer 2 app — Sony’s documented USB/Wi-Fi transfer flow. Summarized in original language.
- Sony support document on Xperia Transfer and Google services — Google Drive backup/restore guidance, Play Store library reinstall recommendation, app-data limits. Summarized in original language.
- Carrier-hosted Xperia XZ2 Compact guide — Transferring data from another phone — older Xperia Transfer Mobile flow via Settings → System. Summarized in original language.
- Wondershare guide to transferring data to Sony Xperia — independent walkthrough of Xperia Transfer 2 setup and limits, used to cross-check Sony’s documented flow. Summarized in original language.
- Google Android Help — transfer data to a new Android device — referenced by Sony as the transfer tool for Xperia 1 IV and later. Summarized in original language.
Last source check: October 14, 2026. AI-assisted editorial guide, checked against the linked manufacturer information. Sony’s app listings and help guides change over time; if a step here no longer matches what you see on your phone, the current Sony documentation takes precedence. This guide describes data-transfer options only and does not promise that any particular data can be recovered from a damaged phone.
Let’s get you connected again.
Tell us what’s happening with your device and we’ll help you decide the safest next step — no jargon, no pressure.
Las Vegas Phone Repair & Accessories · 7400 Las Vegas Blvd S, Unit TT42, Las Vegas, NV 89123
10:00 AM–8:00 PM — call ahead to confirm today’s hours