
Phone Auto-Brightness Not Working: Causes and Safe Fixes
When auto-brightness seems broken, the feature is usually working as designed and responding to something else — a covered sensor, an overheating phone, or a setting that looks like brightness control but isn’t. The quick check: confirm the auto-brightness toggle is on, remove anything covering the top of the screen, and give the phone a few seconds to react; most cases resolve right there.
On this page
When auto-brightness seems broken, the feature is usually working as designed and responding to something else — a covered sensor, an overheating phone, or a setting that looks like brightness control but isn’t.

1. What this guide covers — and who it helps
This guide is for anyone whose phone screen no longer seems to adjust its own brightness: it stays too dim indoors, blasts at full brightness in the dark, changes too slowly, or dims on its own for reasons that have nothing to do with the room light. If you are troubleshooting an iPhone, a Samsung Galaxy phone, or a Google Pixel, the steps below apply — the setting names differ slightly, but the underlying ideas are the same. (Source: support.apple.com)
It is not the same question as “my screen is too dim outside.” If your only problem is poor outdoor visibility, our guide to phone screens that are too dim outdoors covers that specifically. This article is about the automatic behavior: the phone’s own ambient light sensor, the Auto-Brightness or Adaptive brightness toggle, and the other systems (heat protection, battery saving, True Tone, Night Shift) that can move your brightness without your permission.
Quick fact: Auto-brightness is on by default on both iPhone and Samsung Galaxy phones. Many people who believe it “stopped working” actually turned it off months ago — on iPhone it lives under Accessibility, not under Display & Brightness, so it is easy to lose track of.
2. The five-minute check: is it actually broken?
Before diving into causes, run this quick sequence. It takes about five minutes and resolves most reports.
Step 1 — Confirm the toggle is on
iPhone: open Settings, tap Accessibility, tap Display & Text Size, then scroll to Auto-Brightness and make sure it is switched on. Note that this toggle is not in Settings > Display & Brightness — Apple keeps it under Accessibility, which is why so many people can’t find it.
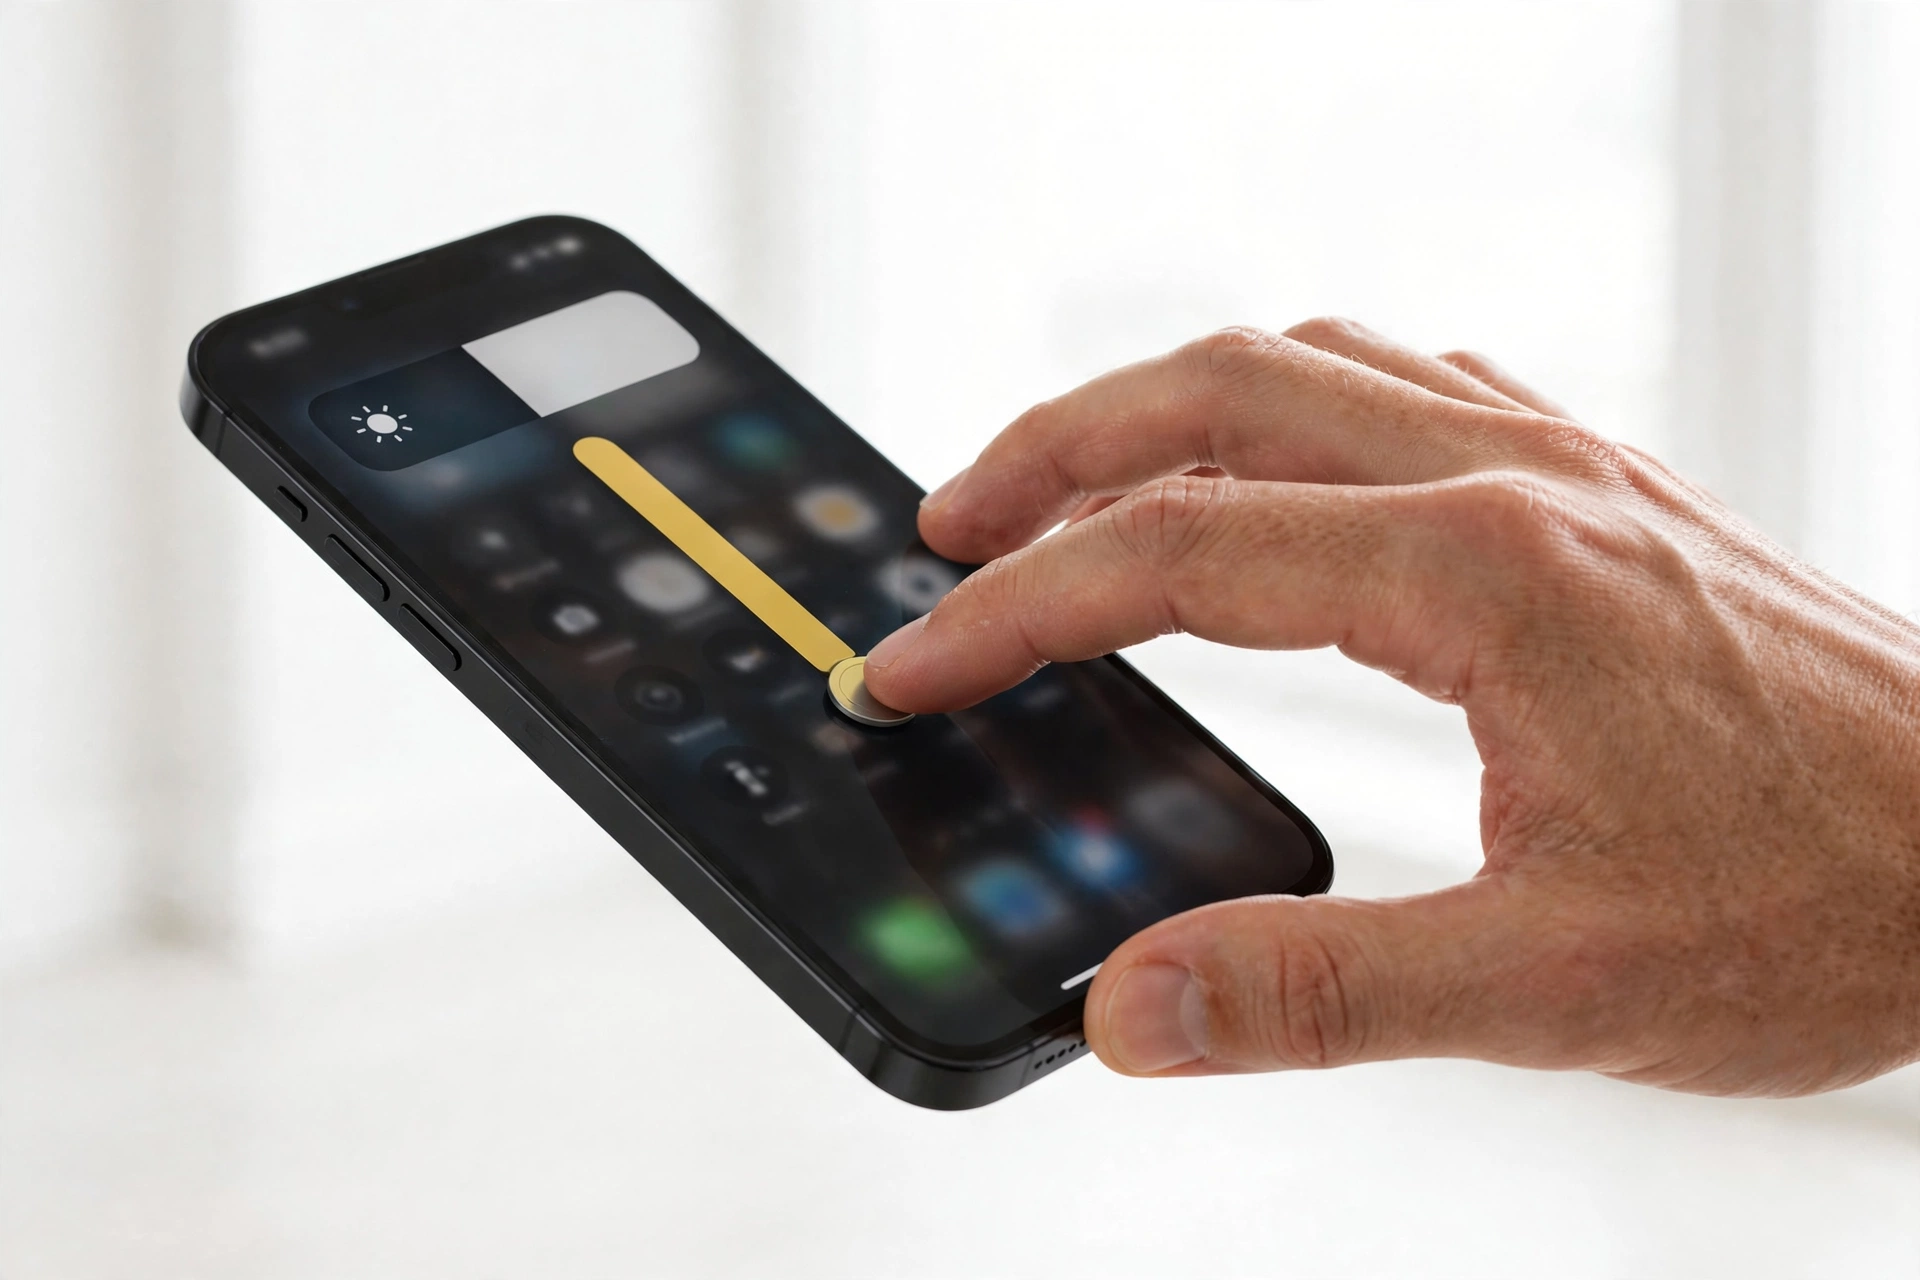
Samsung Galaxy: open Settings, tap Display, and check the switch next to Adaptive brightness. You can also reach it from the Quick panel: swipe down, touch and hold the brightness slider, and look for the Adaptive brightness toggle.
Step 2 — Uncover the sensor
The ambient light sensor sits near the top of the screen (on iPhone, near the front camera and earpiece area; on Samsung phones, near the top edge). Remove your case, lift any screen protector edge that may have shifted, and make sure nothing — a finger, a pop socket in the wrong place, a misaligned camera-hole protector — is sitting over the top strip of the display.
Step 3 — Test it properly
Move between clearly different lighting: a bright room and a dark room, or shade and sunlight. Wait five to ten seconds after each move. Auto-brightness is deliberately gradual — it smooths changes so the screen doesn’t strobe every time you walk past a lamp. One quick glance in a slightly different corner of the same room is not a valid test.
Step 4 — Drag the slider once
With the feature on, drag the brightness slider to a comfortable level in your current room. Both Apple and Samsung treat your manual adjustment as a preference the automatic system should respect and learn from. On Samsung, Adaptive brightness explicitly learns from your adjustments over time.
Step 5 — Rule out heat and low battery
If the phone is warm to the touch or the battery is very low, the phone may be dimming itself for protection — which looks exactly like auto-brightness misbehaving. Move the phone out of direct sun, let it cool, and charge it past 20% before concluding the sensor is at fault.
If all five steps check out and the screen still ignores the light around it, keep reading — the sections below go through each cause in detail.
3. How auto-brightness actually works (the short version)
Every modern phone has an ambient light sensor, a small optical sensor usually mounted near the top of the display. Apple describes it plainly: iOS devices use the ambient light sensor to adjust brightness based on the light around you — lowering brightness in dark locations and raising it in light locations, with the feature on by default.
Samsung’s version, called Adaptive brightness, works the same way with one notable addition: it learns. Samsung states that Adaptive brightness not only responds to current lighting but also learns your preferences over time — if you consistently nudge the slider brighter or dimmer in certain conditions, the phone starts doing that for you automatically. That learning period matters for troubleshooting: a freshly reset phone or a brand-new device may behave “wrong” for the first few days simply because it hasn’t learned your preferences yet.
Two design facts explain a lot of confusion:
- Changes are gradual by design. The system averages light readings over seconds, not instants, so brightness eases up and down rather than snapping. A sensor that takes a few seconds to catch up is working correctly, not lagging.
- Your manual setting is a baseline, not an override. When auto-brightness is on, dragging the slider sets your preferred level for the current light; the phone then continues to scale from that point as conditions change. Apple’s documentation notes that you’ll see the brightness slider move on its own as light conditions change.
Tip: The light sensor and the proximity sensor (which turns the screen off during calls) live near each other at the top of the phone. A case or protector that covers one often affects both — if your screen also stays dark during calls, the sensor area is very likely blocked.
4. Auto-brightness vs. True Tone vs. Night Shift: the three things people mix up
A large share of “auto-brightness not working” reports turn out to be a different feature entirely. These three get confused constantly:
| Feature | What it changes | What it does NOT change | Where to check it |
|---|---|---|---|
| Auto-Brightness / Adaptive brightness | Screen brightness level | Color tone | iPhone: Settings > Accessibility > Display & Text Size. Samsung: Settings > Display |
| True Tone (iPhone) | Color and intensity to match ambient light | Overall brightness level | Settings > Display & Brightness > True Tone |
| Night Shift (iPhone) / Eye Comfort Shield (Samsung) | Color warmth (blue light reduction); may appear dimmer | Brightness in a measurable sense | iPhone: Settings > Display & Brightness > Night Shift. Samsung: Settings > Display > Eye Comfort Shield |
Apple’s own support pages spell this out: True Tone uses advanced sensors to adjust the color and intensity of the display to match ambient light so images look more natural — it does not control how bright the display is. So if your screen keeps shifting warmer and cooler and you think “the brightness is broken,” you may actually be watching True Tone, not Auto-Brightness.
Similarly, Night Shift makes the screen warmer in the evening, which many people perceive as dimming even though the brightness level hasn’t moved. And Samsung’s Eye Comfort Shield can be scheduled (sunset to sunrise, or a custom schedule) and reduces both blue light and overall brightness when active — which looks exactly like a misbehaving Adaptive brightness.
The practical test: if the screen’s brightness level (as shown on the slider) is steady but the screen looks different, the culprit is True Tone or Night Shift/Eye Comfort Shield, not auto-brightness. Toggle each one off temporarily and see which behavior changes.
5. Cause 1 — The toggle is off (or in a place you didn’t expect)
This is the single most common cause, and it hides in plain sight.
On iPhone
Apple places Auto-Brightness at Settings > Accessibility > Display & Text Size > Auto-Brightness — all the way at the bottom of that page. It is deliberately separate from the Display & Brightness menu where the manual slider lives. People who “never touched it” often discover it was switched off during a setup, a restore, or a moment of exploration months earlier. It also gets toggled off by accessibility-related resets and by some Guided Access sessions.
On Samsung Galaxy
Adaptive brightness lives in two places: Settings > Display (the switch next to the Brightness slider) and the Quick panel (swipe down, touch and hold the brightness slider). Samsung’s own troubleshooting guidance for unwanted dimming starts here: turn Adaptive brightness off, set the slider manually, and see whether the problem disappears. If it does, the feature was working — you just didn’t want what it was doing.
On Google Pixel
Pixel phones call it Adaptive brightness under Settings > Display, working the same way as Samsung’s version including the learning behavior.
Quick fact: Turning auto-brightness off is a legitimate choice, not a defect. The only real cost is convenience (and potentially battery life, since the screen won’t dim itself in dark rooms). If you prefer a fixed brightness, turn it off and set the slider yourself — just know you’ll need to adjust it when you move between environments.
6. Cause 2 — Something is covering the ambient light sensor
The sensor can only react to the light it can see. Anything over the top strip of the display distorts its readings, and the phone then “adjusts” to lighting conditions that don’t exist.
- Cases and covers: thick or poorly fitted cases, flip covers with magnetic flaps, and wallet cases that fold over the top edge are the usual suspects. Samsung’s support pages explicitly warn that a blocked proximity sensor can cause the display to shut off unexpectedly — the ambient light sensor fails the same way.
- Screen protectors: glass protectors that don’t align with the sensor cutout, cheap protectors with opaque printing over the sensor area, and protectors that have shifted over time. After a drop, a protector can slide a millimeter or two — enough to cover the sensor.
- Dirt, grease, and stickers: a smudged sensor reads the room as darker than it is, so the phone dims “for no reason.” Clean the top strip of the display with a soft, dry cloth.
- Your own hand: holding the phone in landscape with a finger resting on the top bezel during a video will make the screen dim mid-movie. Shift your grip and watch it recover.
How to verify: take the case off, remove or re-seat the protector, clean the top of the screen, and repeat the two-room test from section 2. If the feature works without the accessories, you’ve found it — no repair needed.
7. Cause 3 — The phone is hot (thermal dimming)
This is the great impostor. When a phone gets hot — left on a car dashboard, used in direct sunlight, running a game or video call in warm weather — it protects itself by reducing screen brightness, sometimes dramatically. Samsung documents this directly: screen brightness can change automatically to protect the device during overheating or heavy usage.
Thermal dimming looks exactly like broken auto-brightness: you’re outside in bright sun, the screen goes dim, and nothing you do to the slider sticks. The giveaway is that the phone feels warm, and the dimming persists even in the shade until the phone cools down.
What to do:
- Move the phone out of direct sunlight and let it cool for a few minutes.
- Close demanding apps (games, video calls, navigation) while it cools.
- Turn the brightness down manually while it’s hot — a bright screen generates heat, which keeps the thermal limiter engaged.
- Samsung specifically advises turning adaptive brightness off in hot conditions, because the feature will keep pushing brightness up in sunlight, fighting the thermal protection.
Thermal dimming is normal protective behavior, not a fault. If your phone dims only when hot and behaves normally at room temperature, the sensor is fine.
Stop for safety: If the phone is not just warm but uncomfortably hot, swollen, or distorted — or the heat appeared without heavy use — stop charging it, move it to a non-flammable surface, and do not try to open it or force-cool it in a freezer. A swollen or dangerously hot battery needs professional assessment. Never charge a swollen, distorted, or dangerously hot device.
8. Cause 4 — Battery saving is limiting brightness
When the battery is very low, or when a battery-saving mode is active, the phone caps maximum brightness to stretch the remaining charge. Samsung documents this: brightness can change to extend battery usage time when the battery level is very low.
- iPhone Low Power Mode (yellow battery icon) reduces background activity and can limit display brightness.
- Samsung Power saving mode under Settings > Battery and device care can cap brightness and turn off features like Extra brightness.
The symptom: the screen won’t go above a certain level no matter what you do, and the cap lifts as soon as you charge the phone or turn the saving mode off. If your “broken” auto-brightness only misbehaves below 20% battery, this is the explanation — charge the phone and test again.
9. Cause 5 — It’s still learning your preferences
Samsung’s Adaptive brightness and Google’s Pixel version explicitly learn from your manual adjustments. Samsung states that the feature learns your preferences over time: if you typically adjust the screen brighter or dimmer in certain light conditions, the phone starts doing it for you. Third-party guides note it can take a few days to match your habits.
This matters after:
- Setting up a new phone — the first few days of “wrong” brightness are the learning period, not a defect.
- A factory reset or software update — learned preferences can be wiped.
- Switching phones or sharing one — the learned pattern belongs to whoever trained it.
The fix is to train it deliberately: for a few days, whenever the brightness feels wrong, drag the slider to where you want it instead of toggling the feature off. Each adjustment teaches the model. If after a week of consistent correction it still ignores you, something else is going on.
10. Cause 6 — A recent screen replacement changed the behavior
This one is repair-relevant, so it deserves care and honesty. After a screen replacement, True Tone and auto-brightness behavior can change:
- iPhone: True Tone relies on calibration data tied to the original display. If a replacement screen wasn’t properly calibrated — or isn’t a genuine Apple part — True Tone may simply stop appearing as an option, and the display’s color behavior changes. iPhones also show a parts-and-service-history label when the display can’t be verified as genuine. This doesn’t necessarily mean auto-brightness itself stops, but the overall display behavior (including sensor response) can differ from the original.
- Samsung: the ambient light sensor and proximity sensor sit near the top of the assembly; if a replacement screen’s sensor window is misaligned or the sensor flex wasn’t reconnected correctly, automatic brightness and call-screen behavior both fail.
What this means for you: if auto-brightness worked before a screen repair and stopped after, the repair is the prime suspect — bring it back to the shop that did the work and describe exactly when the behavior changed. When choosing a shop in the first place, ask about parts quality and calibration; our guide to iPhone parts and service history labels explains what those labels mean, and our Samsung screen repair quote checklist lists the questions worth asking before approving any screen work.
Note on scope: we can’t diagnose your specific phone from a guide. The advice here is to ask the right questions and know what “normal” looks like — not to open the device or attempt calibration yourself.
11. The full symptom-to-cause worksheet
| Symptom | Likely cause | First fix to try |
|---|---|---|
| Screen never changes, day or night | Auto-Brightness / Adaptive brightness is off | Turn the toggle on (iPhone: Accessibility > Display & Text Size; Samsung: Settings > Display) |
| Screen dims “for no reason” indoors | Sensor covered by case, protector, dirt, or finger | Remove case, re-seat protector, clean top of screen |
| Screen dims only when phone feels warm | Thermal protection limiting brightness | Move out of sun, close heavy apps, let it cool |
| Brightness caps at a low level | Low battery or power-saving mode | Charge past 20%, turn off power-saving mode |
| Colors shift warmer/cooler, slider steady | True Tone or Night Shift / Eye Comfort Shield, not brightness | Toggle True Tone / Night Shift off temporarily to identify |
| New phone behaves “wrong” for days | Adaptive brightness still learning preferences | Correct the slider deliberately for a few days |
| Stopped working right after a screen repair | Sensor misaligned or display calibration changed | Return to the repair shop; ask about parts and calibration |
| Brightness flickers up and down rapidly | Sensor getting mixed readings (flickering light, partial cover) or display fault | Uncover sensor; if it persists at steady light, see flicker guides |
| Screen goes fully dark during calls | Proximity sensor covered (shares sensor area) | Remove case/protector from top edge |
| Changes are slow but eventually correct | Normal gradual adjustment — not a fault | Wait 5–10 seconds in genuinely different lighting |
If the flickering row describes your phone, the issue may be the display rather than the sensor — see our guides to iPhone screen flickering and Samsung Galaxy screen flickering.
12. Step-by-step fixes, in order
Work through these in sequence. Stop when the behavior returns to normal — each step is safe and reversible.
1. Verify the toggle
iPhone: Settings > Accessibility > Display & Text Size > Auto-Brightness on. Samsung: Settings > Display > Adaptive brightness on.
2. Remove obstructions
Take off the case, check the screen protector alignment, and wipe the top strip of the display with a soft, dry cloth.
3. Separate brightness from color features
Temporarily turn off True Tone (iPhone) and Night Shift / Eye Comfort Shield. Test again. If the problem disappears, it was never auto-brightness.
4. Cool and charge the phone
Get the phone to room temperature and above 20% battery, then retest. This rules out thermal dimming and power-saving caps.
5. Train it
Over the next few days, correct the slider whenever it feels wrong instead of disabling the feature. Give the learning system real data.
6. Restart and update
A simple restart clears transient sensor glitches. Then check for a software update — display and sensor behavior is occasionally fixed in updates.
7. Reset all settings (last software step)
On iPhone: Settings > General > Transfer or Reset iPhone > Reset > Reset All Settings. On Samsung: Settings > General management > Reset > Reset all settings. This returns system settings (including display and accessibility) to defaults without deleting your data. You will need to re-enter Wi-Fi passwords and re-tweak settings afterward.
Stop for safety: Reset All Settings is the appropriate last software step. A full factory reset (erase) is not a reasonable fix for a brightness issue — it deletes everything and will not repair a blocked sensor, a heat problem, or a hardware fault. Back up before any reset, and never erase a phone as a first troubleshooting step.
13. What your observations can and cannot establish
Honesty matters in troubleshooting. Here’s what the common tests actually prove:
| Observation | What it establishes | What it does NOT establish |
|---|---|---|
| Screen adjusts after removing the case | The sensor was blocked | That the case is “bad” — it may just fit poorly |
| Screen dims only when hot | Thermal protection is engaging | That the sensor is faulty |
| Slider moves on its own in changing light | Auto-brightness is on and responding | That its chosen levels match your taste (that’s the learning part) |
| Behavior changed after a screen repair | The repair is the prime suspect | Which part or step caused it — that needs the shop’s assessment |
| Screen looks dim but slider is high | Something other than brightness is at play (color features, heat cap, battery cap) | That auto-brightness is broken |
14. When to stop troubleshooting and seek assessment
Stop and get the phone assessed if:
- The sensor area is clear, the phone is cool and charged, settings are correct — and the screen never responds to light changes at all.
- Brightness flickers rapidly in steady lighting (possible display or sensor hardware fault).
- The problem started immediately after a drop, water exposure, or a screen repair.
- The screen shows lines, dead spots, or discoloration along with the brightness problem.
- The phone is swollen, distorted, or dangerously hot — do not charge it; seek assessment promptly.
A shop can check sensor response and display calibration in ways a guide cannot. When you go, describe exactly what you tested (“the slider doesn’t move between a dark room and sunlight with the case off”) — that detail saves diagnostic time.
15. Hypothetical examples
(The following are hypothetical illustrations, not customer stories.)
Hypothetical example: Maya’s “broken” sensor
Maya noticed her Galaxy phone kept dimming at her desk even though the office was bright. She was ready to book a repair — then tried the five-minute check. With the case off, the screen responded normally. The culprit: a new wallet case whose top flap folded just over the sensor strip whenever she set the phone down. She trimmed the flap, and the “fault” never returned.
Hypothetical example: Daniel’s poolside dimming
Daniel’s iPhone went almost unreadably dim during an afternoon by the pool, and no slider adjustment would stick. He assumed the sensor had failed in the heat. In fact the phone was thermally protecting itself: the screen cooled down in the shade, and within minutes auto-brightness worked perfectly again. The lesson — heat dimming and sensor failure look identical until you check the temperature.
16. Frequently asked questions
Why does my phone screen dim by itself?
The most common reasons are auto-brightness responding to lower light, thermal protection when the phone is hot, a power-saving mode capping brightness, or Night Shift / Eye Comfort Shield warming the display. Work through the worksheet in section 11 to identify which one matches your situation.
Is it better to leave auto-brightness on or off?
On, for most people. It keeps the screen comfortable across environments and saves battery by dimming in dark rooms. Turn it off only if you genuinely prefer manual control — you’ll just need to adjust the slider yourself when lighting changes.
Why is auto-brightness not in my Display settings on iPhone?
Apple places the Auto-Brightness toggle under Settings > Accessibility > Display & Text Size, at the bottom of the page — not under Display & Brightness. This has confused iPhone owners for years; you’re not missing anything.
Does auto-brightness drain the battery?
The opposite: it generally saves battery, because the screen dims itself in dark environments instead of staying at a fixed bright level. Turning it off and leaving the slider high is what costs battery.
Why does my brightness keep changing after I set it?
That’s the feature working as designed — with auto-brightness on, the system continues to scale from your manual setting as ambient light changes. If you want a fixed level, turn the feature off.
Can a screen protector break auto-brightness?
It can’t break the sensor, but a misaligned or opaque protector over the sensor area can block its light readings, making the phone dim incorrectly. Re-seat or replace the protector so the sensor area is clear.
My screen is dim only outdoors — is that auto-brightness?
Possibly, but outdoor dimming has its own causes (maximum brightness limits, heat, Extra brightness settings). See our dedicated guide to phone screens that are too dim outdoors for that specific problem.
Should I factory reset my phone to fix auto-brightness?
No. A factory reset deletes all your data and will not fix a blocked sensor, heat dimming, a battery cap, or a hardware fault. Reset All Settings (which keeps your data) is the furthest software step worth trying; beyond that, the phone needs assessment.
Video: How to tell if your smartphone is fake or real
Sources and editorial notes
- Apple Support — Adjust the brightness and colour temperature on your iPhone or iPad: documents the ambient light sensor behavior, the Auto-Brightness toggle path (Settings > Accessibility > Display & Text Size), True Tone behavior, and the note that accessibility settings can disable True Tone. (Last checked October 13, 2026.)
- Samsung Support — Manage display settings on your Samsung Galaxy: documents the Adaptive brightness toggle (Settings > Display and Quick panel), the brightness slider, and the learning behavior of Adaptive brightness. (Last checked October 13, 2026.)
- Samsung Support — Stop the screen brightness from dimming on your Galaxy phone: covers the proximity sensor check, turning off Adaptive brightness, screen timeout, and keep-screen-on-while-viewing. (Last checked October 13, 2026.)
- Samsung Support — What to do if the screen brightness changes automatically on your Samsung Galaxy device: documents brightness changes due to lighting, device temperature, battery level, overheating protection, and low-battery behavior. (Last checked October 13, 2026.)
- Samsung Support — Why is my Samsung phone or tablet screen flickering?: documents disabling Adaptive brightness as a flicker troubleshooting step. (Last checked October 13, 2026.)
- Apple Support Communities — Auto-brightness vs. True Tone thread: community confirmation that True Tone and Auto-Brightness are separate features with separate toggles. (Last checked October 13, 2026.)
Last source check: October 13, 2026. AI-assisted editorial guide, checked against the linked manufacturer information. Procedures described here follow Apple’s and Samsung’s published support guidance; third-party sources are cited only for corroboration. Settings paths and feature names can change with software updates — if a toggle differs on your phone, check the manufacturer’s current support pages. If your phone needs hands-on assessment, Las Vegas Phone Repair & Accessories is at 7400 Las Vegas Blvd S, Unit TT42, Las Vegas, NV 89123 — call (424) 406-6202 ahead to confirm today’s hours (generally 10:00 AM–8:00 PM).
Let’s get you connected again.
Tell us what’s happening with your device and we’ll help you decide the safest next step — no jargon, no pressure.
Las Vegas Phone Repair & Accessories · 7400 Las Vegas Blvd S, Unit TT42, Las Vegas, NV 89123
10:00 AM–8:00 PM — call ahead to confirm today’s hours